Lighting for Selfies: A Photographer's Guide for AI Portraits
As a portrait photographer, I've spent years understanding how light shapes a face. Now, with the rise of AI portrait generators, that knowledge is more crucial than ever. The secret to a stunning AI headshot isn't just the algorithm; it's the quality of the photo you provide, and the most important factor is the lighting for selfies for AI portraits. A well-lit photo gives the AI the clean data it needs to work its magic while preserving your unique features.
The AI's Eye: Why Your Selfie Lighting is Mission-Critical
Think of an AI portrait generator as a hyper-literal artist. It doesn't "see" a face the way a human does; it analyzes pixels, looking for information about planes, textures, shadows, and highlights to reconstruct your likeness in a new style. The principle is simple: garbage in, garbage out.
When you upload a photo with poor lighting, you're giving the AI confusing or incomplete data.
- Harsh shadows can be misinterpreted as part of your facial structure, leading to odd indentations or an aged appearance.
- Blown-out highlights (where parts of your skin are pure white with no detail) create blank spots that the AI has to guess at, often resulting in plastic-looking skin.
- Uneven or colored light can create strange skin tone patches that look unnatural in the final portrait.
Conversely, a photo with clean, soft lighting provides a perfect blueprint of your face. The AI can clearly distinguish your cheekbones from your jawline, the shape of your nose, and the texture of your skin, resulting in a portrait that is both flattering and, most importantly, recognizably you.
The Best Light Source You Own: The Window
The single best light source for a selfie is almost always a large window. It acts as a giant, natural softbox, providing diffused light that wraps gently around your features. It's the gold standard for portraiture for a reason, and you can use it for free.
How to Use Window Light: A Step-by-Step Guide
- Turn Off All Interior Lights: This is non-negotiable. Mixing the cool, blue-toned light from a window with the warm, yellow-toned light from your indoor lamps creates a color temperature nightmare. The AI will struggle to render a natural skin tone. Stick to one light source.
- Find the Right Window: Look for a large window that is not in direct, harsh sunlight. A north-facing window is often perfect because it provides consistent, indirect light all day. If you only have south-facing windows, wait for a time when the sun isn't beating directly through them.
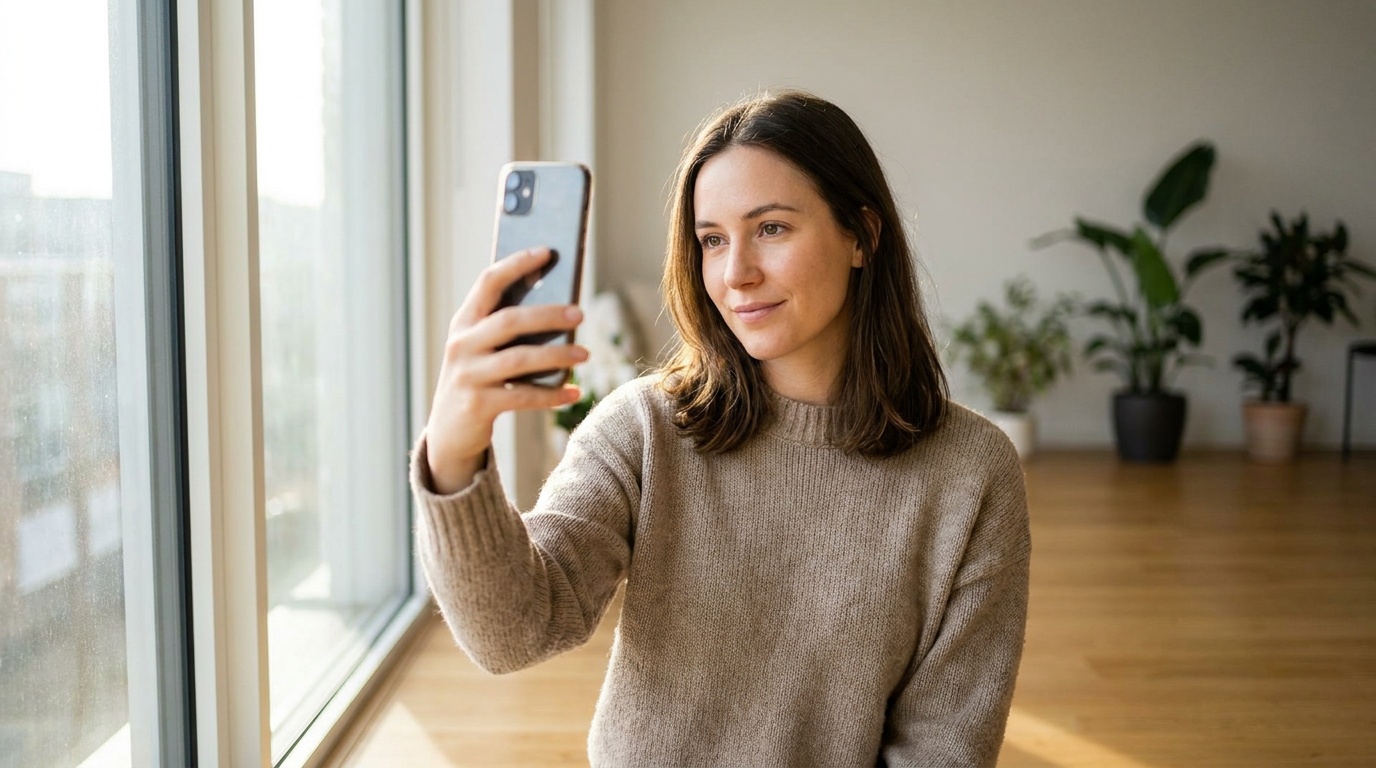
- Position Yourself Correctly: Stand or sit facing the window, about two to three feet away. The light should fall evenly across your face. You'll see a sparkle, known as a 'catchlight,' in your eyes—that's a sign you're in the right spot.
- Angle for Dimension: For a classic look, face the window directly. For a little more drama and dimension (often called Rembrandt or loop lighting), turn your body about 45 degrees away from the window, but turn your head back towards it. This creates a soft shadow on one side of your face, which helps define your features.
Common Window Light Mistakes
- Backlighting: Never stand with the window behind you. Your phone's camera will expose for the bright window, turning your face into a dark silhouette. The AI will have no facial details to work with.
- Direct Sunlight: Avoid taking a selfie with harsh sunbeams hitting your face. This creates hard-edged shadows and bright hot spots, and it will make you squint.
- Being Too Far Away: Light intensity falls off dramatically with distance. If you're ten feet away from the window, the light will be weak and you'll lose all the benefits.
Your Guide to Artificial Lighting for Selfies for AI Portraits
Sometimes, natural light isn't an option. With the right technique, you can get excellent results using artificial light, but you need to be more deliberate. The goal is always to create a light source that is large and soft.
The Ring Light: Friend or Foe?
A ring light can be a great tool, but it's often misused. Its purpose is to provide direct, even, frontal illumination, which eliminates shadows. While this can be good for makeup tutorials, it can sometimes flatten your features too much for a portrait, making it harder for the AI to see the dimensions of your face.
How to Use It Correctly:
- Don't place it too close. This creates a harsh, deer-in-the-headlights look.
- Dim it down. Use the lowest power setting that still provides enough light. Often, a ring light is best used as a 'fill' light to soften shadows created by another main light source, rather than as the sole light.
- Position it at eye level. Placing it too high or too low will create unflattering shadows.
DIY Lighting Like a Pro
You don't need fancy equipment. The key is to make your light source bigger and softer.
- Use a Lamp with a Shade: Grab a table lamp or floor lamp that has a white or off-white lampshade. The shade acts as a diffuser. Place it in front of you and slightly to one side, just above eye level. This mimics a classic studio lighting setup.
- Bounce the Light: This is a classic photographer's trick. If you have a lamp without a shade, don't point it directly at your face. Instead, point it at a large white surface—like a wall or a piece of white poster board—and let the reflected light illuminate you. The wall becomes your new, massive, soft light source.
Artificial Lighting to Avoid at All Costs
- Overhead Ceiling Lights: This is the absolute worst light for any portrait. It comes from directly above, creating deep, dark shadows under your eyes, nose, and chin (often called "monster lighting").
- Bare Bulbs: A naked light bulb is a small, harsh light source. It will create specular highlights (shiny spots) on your skin and hard-edged shadows.
- Your Phone's Flash: The on-camera flash is tiny, direct, and produces a flat, washed-out look with red-eye. Never use it for a portrait selfie.
Upload a photo, pick a look and get your portrait in a minute. Your face stays yours.
Try itMastering the Great Outdoors
Outdoor light can be beautiful, but it's variable. Timing is everything.
Golden Hour: Nature's Perfect Filter
The hour after sunrise and the hour before sunset are known as the "golden hour." The sun is low in the sky, and its light is warm, soft, and directional. It creates a beautiful glow on the skin and long, soft shadows that define your features perfectly. Face the sun during this time for a stunning, warm-toned portrait.
Overcast Days: Nature's Softbox
Don't be discouraged by a cloudy day! An overcast sky is a photographer's dream. The clouds act as a giant diffuser, scattering the sun's light and creating incredibly soft, even illumination. There are no harsh shadows to worry about. This is perhaps the most foolproof lighting for a selfie because it reveals all the detail in your face with perfect clarity—ideal for an AI.
Outdoor Lighting Mistakes
- Midday Sun: Shooting between 11 a.m. and 3 p.m. on a sunny day is a recipe for disaster. The sun is directly overhead, creating the dreaded "raccoon eyes" shadow pattern.
- Dappled Light: Avoid taking selfies under a tree on a sunny day. The patchy spots of light and shadow filtering through the leaves will confuse the AI and create a busy, distracting pattern on your face and body.
Checklist for the Perfect AI Portrait Selfie
Lighting is king, but a few other details will elevate your source photo from good to great. Before you shoot, run through this quick checklist.
| Category | Action | Why It Matters for AI |
|---|---|---|
| Focus | Tap on your face on the screen to set focus. | The AI needs a sharp image. A blurry photo lacks the data to create a detailed portrait. |
| Lens | Wipe your phone's front camera lens with a soft cloth. | Smudges and dust create haze and reduce sharpness, degrading the image quality. |
| Filters | Turn OFF all built-in beauty filters or skin smoothing. | These filters destroy skin texture data. The AI needs the real data to work with. |
| Pose | Look directly into the camera lens, not at yourself on the screen. | This creates a more engaging and direct portrait. |
| Expression | Keep a neutral expression or a very slight, natural smile. | Exaggerated expressions can distort your features and lead to less accurate AI results. |
| Clothing | Wear a simple, solid-colored shirt or top. | Busy patterns can distract the AI and sometimes bleed into the edges of your hair or face. |
| Background | Stand in front of a plain, neutral-colored wall. | A cluttered background can confuse the AI's edge detection, impacting the quality of the cutout. |
From Selfie to Studio Shot: Putting It All Together
Let's walk through a real-world scenario. You need a professional business headshot for your LinkedIn profile. Instead of booking a costly photoshoot, you can create one yourself.
Following this guide, you would wait for a moment with good light—perhaps standing and facing a large window on an overcast day. You'd put on a simple, solid-colored blazer. You'd stand in front of a plain wall, hold your phone at eye level, tap on your face to focus, and take a clear shot from the chest up with a neutral, confident expression.
With this clean, perfectly lit source photo, you can then use a tool like Portretto. When you upload your selfie and choose a style like 'Business Headshot,' the AI has all the high-quality information it needs. It can accurately map your features, render realistic skin texture, and place you in a professional studio setting, all while ensuring the final image looks exactly like you. That's the power of starting with a great photo.
FAQ
What is the single best lighting for a selfie?
The gold standard for selfie lighting is soft, diffused natural light. The best way to achieve this is by facing a large window that isn't in direct sunlight. This provides a flattering, even light that gives the AI clean data to work with.
Can I use a selfie taken at night for an AI portrait?
Yes, but you must control the light. Avoid harsh overhead lighting. The best approach is to use a large, soft light source, like a lamp with a white shade placed in front of you, to illuminate your face evenly without creating hard shadows.
Should I smile in my selfie for an AI generator?
A neutral expression or a very gentle, natural smile is ideal. The AI needs a clear 'map' of your face in a resting state to work effectively. Large, exaggerated expressions can distort your features and lead to less accurate or strange-looking results.
Do I need a fancy camera for a good AI portrait?
Not at all. Any modern smartphone camera is more than capable of taking a great source photo. The key isn't the camera but the lighting. A well-lit smartphone selfie will produce a far better AI portrait than a poorly-lit photo from an expensive professional camera.
Why did my AI portrait look weird or not like me?
The most common reason for an inaccurate AI portrait is a poor source photo. Problems like harsh shadows from bad lighting, blurry focus, strange color casts, or using your phone's built-in 'beauty filters' can confuse the AI, resulting in a final image that doesn't look like you.