How to Pose for Selfies for Headshots: A Pro Guide
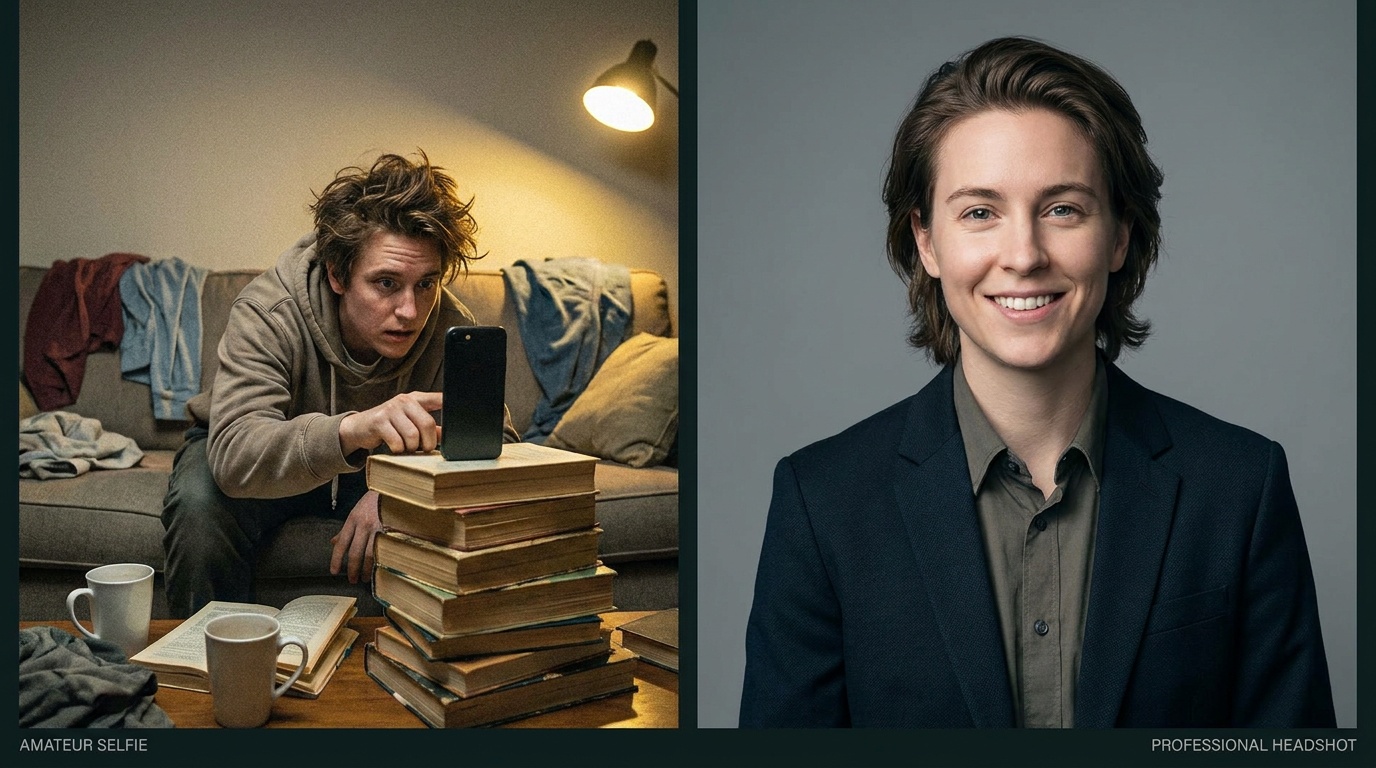
As a portrait photographer, I know the magic happens when lighting, posing, and expression align. Now, with AI photo studios, you can get a studio-quality portrait from a simple selfie, but the final result is only as good as the photo you upload. Learning how to pose for selfies for headshots is the single most important skill to master for getting results that look genuinely professional and, most importantly, like you.
The Foundation: Nailing the Selfie Setup
Before you even think about your expression, you need to set the stage. A great headshot selfie isn't just a lucky snap; it's a deliberate setup. Getting the technical details right provides the AI with a high-quality canvas to work with.
Lighting is Everything: Find Your Best Light
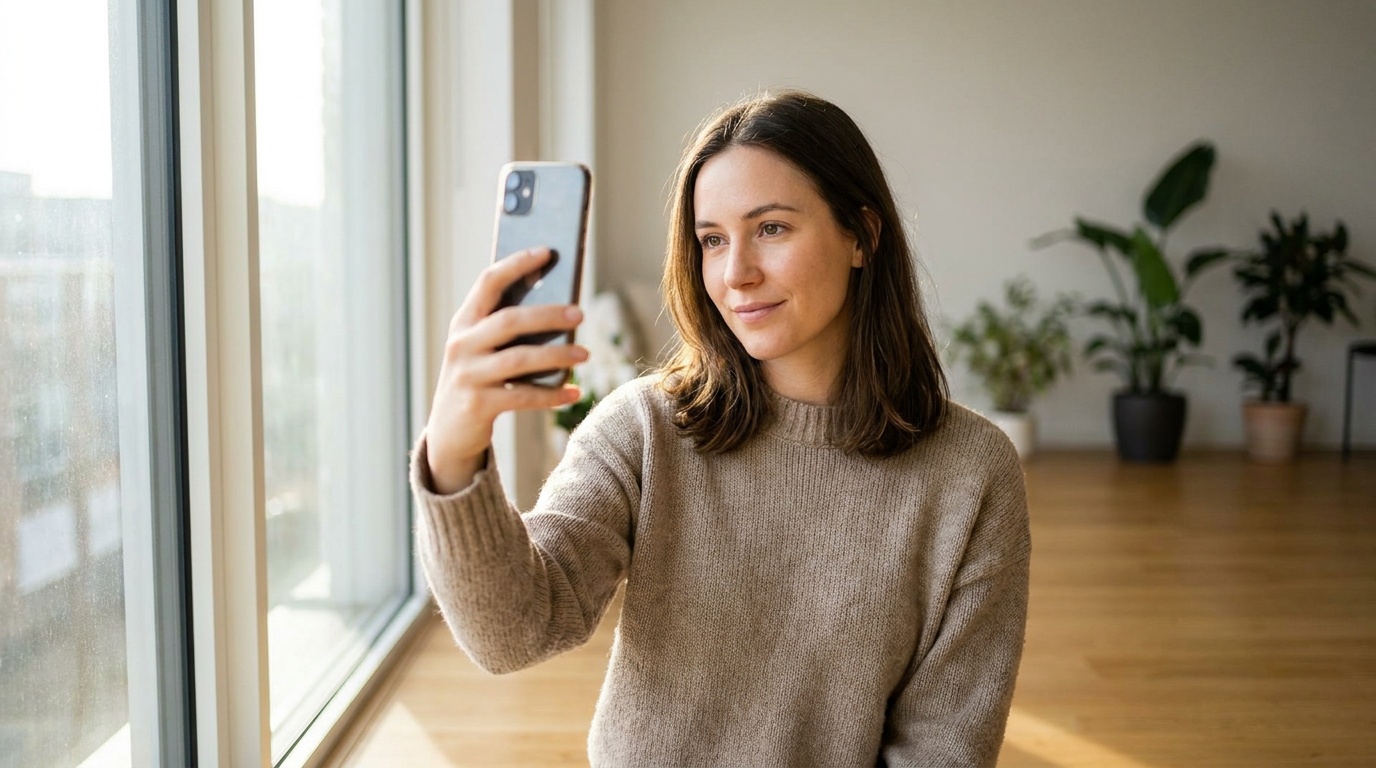
This is the golden rule of photography. The best light for a portrait is soft, diffused, and comes from the front. The easiest way to find this is to stand facing a large window during the day. An overcast day is even better than a sunny one, as the clouds act like a giant softbox, eliminating harsh shadows.
- Do: Position yourself about two to three feet from a window, facing it directly. Notice how the light evens out your skin tone and creates a pleasant catchlight (that little sparkle) in your eyes.
- Don't: Stand with the window behind you (backlighting), which will turn you into a silhouette. Avoid direct, harsh sunlight, which creates unflattering, hard-edged shadows. Also, steer clear of overhead lighting (like ceiling fixtures), which casts dark shadows under your eyes and nose.
The Right Angle: Camera Position and Distance
Holding your phone at arm's length is the classic selfie pose, but it's a problem for headshots. The wide-angle lens on most front-facing cameras will distort your features when held too close, making your nose look larger and your forehead more prominent.
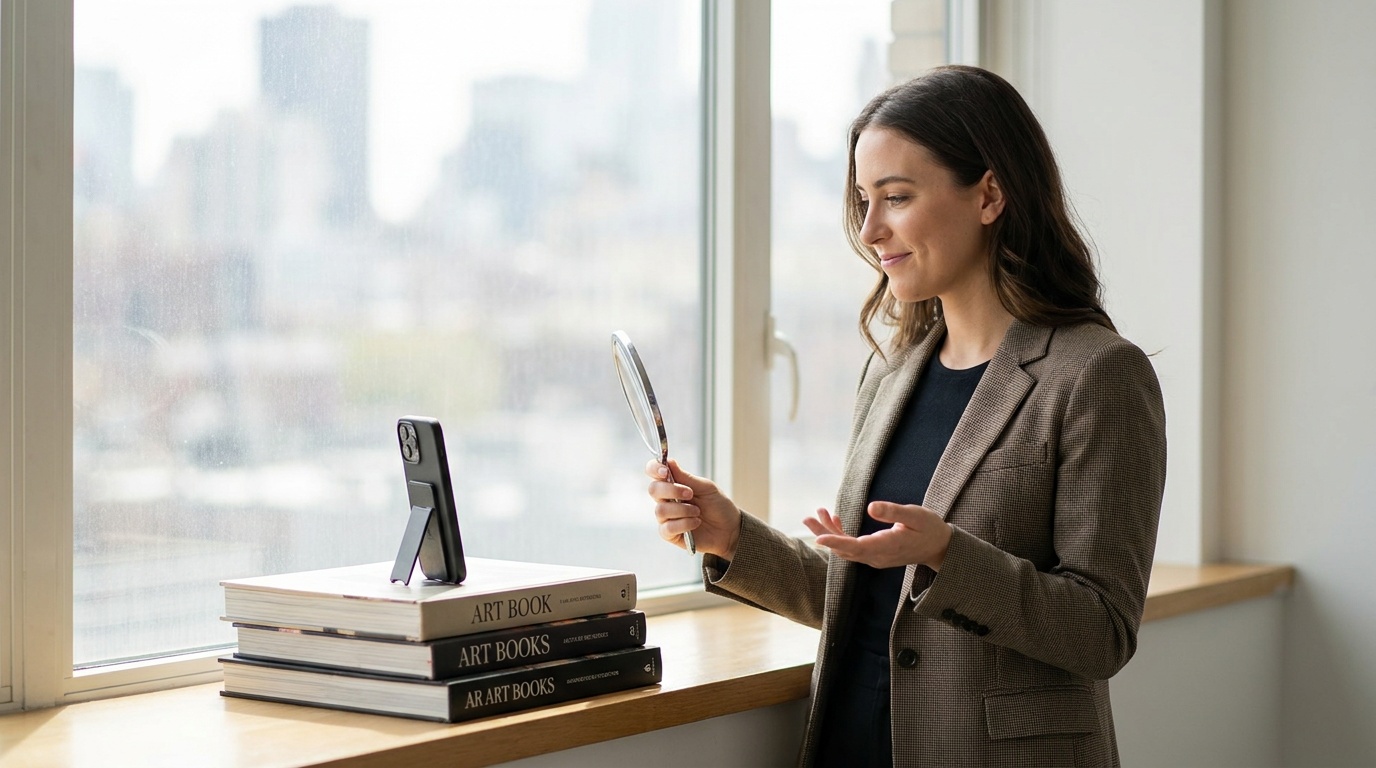
For a much more flattering and proportional look, you need distance. Prop your phone up on a stack of books, a shelf, or a small tripod. Position it so the lens is at your eye level or slightly above. This angle is universally flattering; it slightly slims the face and forces you to look up into the lens, which opens up your eyes.
Set your phone’s camera timer for 3 or 10 seconds. This gives you enough time to get into position and relax your hands and shoulders, resulting in a much more natural and less “selfie-like” posture.
Background Check: Keep It Simple
While an AI tool will replace your background, the one you shoot against still matters. A busy, cluttered, or patterned background can confuse the AI. Sometimes, elements from the background can “bleed” into the final image, especially around the fine details of your hair.
To avoid this, choose the simplest background you can find. A solid, neutral-colored wall (like white, grey, or beige) is perfect. It creates a clean separation between you and the background, allowing the AI to easily and accurately cut you out and place you into a new setting.
How to Pose for Selfies for Headshots: A Photographer's Posing Flow
Now that your setup is perfect, it’s time to focus on your pose. Posing for a headshot selfie is about creating angles and conveying confidence. Follow this flow, and you'll see an immediate difference.
Start from the Ground Up: Posture and Shoulders
Your pose doesn't start with your face; it starts with your posture. Slouching, even slightly, translates on camera as a lack of confidence and energy. Whether you're sitting or standing, straighten your spine as if a string is pulling the crown of your head toward the ceiling.
Next, focus on your shoulders. Roll them up, back, and then let them drop down and relax. This simple action does three things: it elongates your neck, improves your posture, and opens up your chest, which projects confidence. Avoid hunching or tensing your shoulders up around your ears.
Angle Your Body, Then Your Face
A straight-on shot, like a passport photo, is rarely the most flattering. To create a more dynamic and slimming silhouette, turn your body about 45 degrees away from the camera. Then, turn your head back to face the lens.
Now, for the final touch: the head tilt. Almost no one's face is perfectly symmetrical, and a slight tilt can highlight your “better side” and add a touch of personality. Try tilting your head slightly towards your higher shoulder. Experiment in the mirror to see which side you prefer. A tiny adjustment makes a huge difference.
The "Turtle": The Secret to a Sharper Jawline
This is a trick every portrait photographer uses, and while it feels incredibly awkward, it looks amazing on camera. To define your jawline and minimize the appearance of a double chin, you need to separate your face from your neck.
Imagine you're a turtle peeking its head out of its shell. Gently push your forehead and chin straight forward, towards the camera. It’s not about dipping your chin down, but pushing your entire face forward on a horizontal plane. From the side, it looks strange, but from the front-on camera angle, it creates a clean, sharp line along your jaw. Practice this a few times—it's a game-changer.
Eyes and Expression: Connect with the Lens
Your eyes are the focal point of a headshot. A wide-eyed, “deer in the headlights” stare can look startled or scared. To project confidence and approachability, try “squinching.” This involves slightly tightening your lower eyelids, as if you're focusing intently on something. It’s a subtle movement that makes you look more engaged and confident.
For your smile, authenticity is key. A forced, cheesy grin is easy to spot. Instead, try a relaxed, closed-mouth smile or a very slight upturn at the corners of your mouth. Think of a pleasant memory or a funny inside joke right before the timer goes off. This will create a genuine, micro-expression that looks far more natural.
What to Wear (and What to Avoid)
The clothes you wear in your source selfie serve as the base for what the AI generates. A smart choice can make the final image look more polished and professional.
Necklines Matter
The neckline of your shirt frames your face. For most people, V-necks and scoop necks are great choices because they elongate the neck. A simple crew neck is also a classic, safe bet.
Be cautious with turtlenecks or very high-collared shirts. While they can work for a specific, stylized look, they can also shorten the neck and may not be what you want for a standard business headshot. Solid colors are almost always better than patterns. They are timeless and keep the focus where it should be: on your face.
Color Theory for Your Skin Tone
Choose a color that complements your skin tone. You don't need to be a color theorist to get this right. As a general rule, jewel tones like emerald, sapphire, and ruby look fantastic on cooler skin tones, while earthy tones like olive, terracotta, and mustard yellow flatter warmer skin tones. When in doubt, you can't go wrong with classic navy, charcoal grey, or a rich burgundy.
Avoid wearing a color that is too similar to your skin tone, which can make you look washed out. Also, skip the bright neons, as they can create a color cast on your skin.
Steer Clear of Distractions
The goal is to create a timeless, professional image. Avoid anything that will distract the viewer (or the AI). This includes:
- Busy patterns: Stripes, florals, and complex geometric prints draw attention away from your face.
- Large logos or text: Your headshot isn't an advertisement for a clothing brand.
- Heavy or shiny jewelry: A simple pair of studs or a delicate necklace is fine, but large, dangly, or reflective jewelry can be very distracting.
Upload a photo, pick a look and get your portrait in a minute. Your face stays yours.
Try itCommon Selfie Mistakes and How to Fix Them
I see these mistakes all the time. Avoiding them is half the battle in learning how to take a good selfie for a headshot.
- Mistake 1: The "Up-the-Nose" Angle. This happens when you hold the phone below your chin. It’s an unflattering angle for everyone.
- Fix: Always position the camera at eye level or slightly higher. Use that stack of books!
- Mistake 2: The Forced, Unnatural Expression. The over-the-top cheesy grin or the pouty “duckface” looks unprofessional and inauthentic.
- Fix: Practice a relaxed, gentle smile in the mirror. Think of a genuinely happy moment to bring a natural light to your eyes. Aim for approachability, not intensity.
- Mistake 3: The Blurry, Low-Light Shot. Taking a selfie in a dimly lit room results in a grainy, blurry photo that the AI can't work with.
- Fix: Light is non-negotiable. Go to a window. If you must shoot at night, use multiple light sources from the front, but natural light is always superior.
- Mistake 4: Over-editing with Filters. Applying heavy beauty filters, skin smoothing, or vignettes before you upload the photo is counterproductive. These filters destroy the very facial data the AI needs to create a realistic portrait.
- Fix: Upload a clean, sharp, unedited photo. Your job is to provide a high-quality source image; let a tool like Portretto handle the professional retouching and styling to create the final, polished headshot.
Checklist for the Perfect Headshot Selfie
Use this list to run through before you start shooting with your timer.
- Lighting: You are facing a large, soft light source (a window is best).
- Camera: Phone is propped up, stable, and at eye level.
- Timer: Camera timer is set to give you time to pose.
- Background: The wall behind you is plain and neutral.
- Posture: Spine is straight, shoulders are back and down.
- Pose: Body is angled 45 degrees, head is turned back to the camera with a slight tilt.
- Jawline: Chin is pushed slightly forward (the “turtle”).
- Expression: Eyes are “squinched” slightly, and your smile is relaxed and genuine.
- Wardrobe: Wearing a solid color with a simple, flattering neckline.
- Image Quality: The photo is sharp, in focus, and has no filters applied.
Once you have a selfie that ticks all these boxes, the hard part is over. You've provided the perfect raw material. Now you can confidently upload it to an AI studio like Portretto and watch it transform your well-posed selfie into a range of polished, professional portraits that still look completely and authentically you.
FAQ
Should I smile with teeth for a headshot selfie?
It depends on the impression you want to make. A closed-mouth smile or a slight upturn of the lips can appear more confident and serious, which is great for corporate or legal professions. A smile with teeth can appear more open and approachable, which works well for creative or client-facing roles. Take shots with both expressions to have options.
What's better, the front or back camera for a headshot selfie?
The back camera on your phone is almost always higher quality, with a better sensor and lens, resulting in a sharper, more detailed image. The downside is you can't see yourself. Use a timer and take several shots to ensure you get a good one where you're looking at the lens.
Can I wear glasses in my selfie for an AI headshot?
Yes, if you wear them daily, you should wear them in your headshot. To avoid glare, make sure your light source is soft and diffused (like a window) rather than a direct lamp. Tilt your head slightly down and angle your glasses to minimize reflections on the lenses.
How do I avoid a double chin in my selfie?
The best technique is the "turtle." Push your chin and forehead forward towards the camera. This feels strange but effectively defines your jawline. Additionally, positioning the camera at eye level or slightly above helps to elongate your neck and minimize the appearance of a double chin.
What expression is best for a professional headshot?
The best expression is one that is both confident and approachable. Avoid a wide-eyed, startled look or an overly broad, forced grin. A relaxed, gentle smile combined with a slight "squinch" (tightening of the lower eyelids) conveys engagement and confidence, which is ideal for most professional contexts.