Forget the Clock: Get Golden Hour Portraits with AI
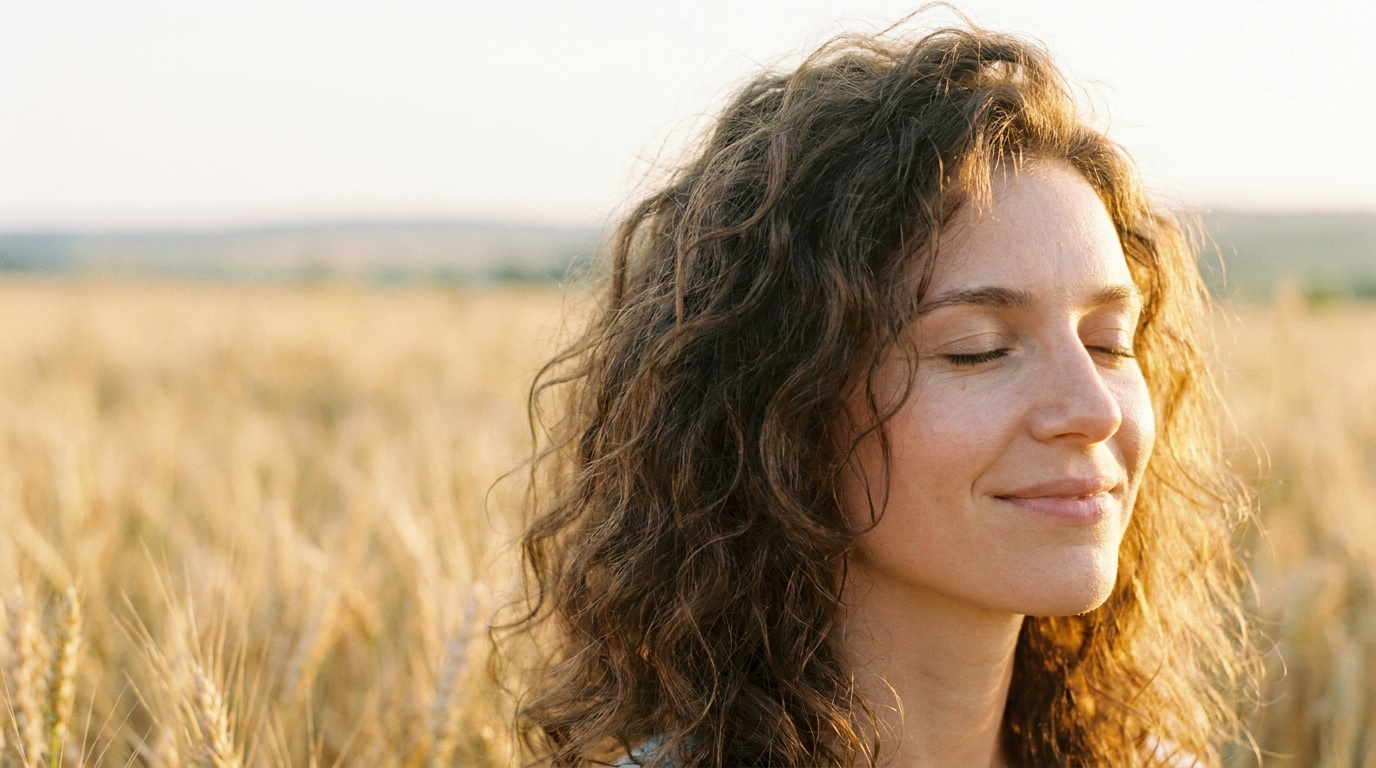
As a portrait photographer, I have a love-hate relationship with the golden hour. I love the magical, warm light, but I hate that it lasts for maybe 30 minutes on a good day. I’ve rescheduled shoots because of clouds and sprinted through fields to catch the last rays of sun. Now, you can get that same incredible glow anytime you want, creating a perfect golden hour portrait with AI from a simple photo on your phone.
What Makes Golden Hour So Magical (And So Difficult)?
Before we dive into how AI replicates it, it's crucial to understand what we're trying to achieve. Photographers aren't just obsessed with the golden hour because it looks warm; it’s about the quality and direction of the light. This brief period just after sunrise and before sunset offers a unique combination of effects that are incredibly flattering for portraits.
First, the light is soft and diffused. Because the sun is low on the horizon, its light travels through more of the Earth's atmosphere. This scatters the blue light, leaving behind warmer tones, and softens the shadows. Instead of the harsh, dark shadows you get at midday, you get gentle, gradual transitions from light to dark that sculpt the face beautifully.
Second, the light is directional. It comes from the side, not directly overhead. This creates dimension and depth. It can wrap around your subject, creating a beautiful highlight on their hair (we call this a “rim light” or “hair light”) and chiseling their cheekbones. This is what gives golden hour photos that professional, three-dimensional feel.
The challenge, of course, is that it's fleeting and unreliable. You need clear skies at the right time of day, a planned location, and a cooperative subject, all to capture a 20- to 40-minute window of perfect light. Miss it, and you’re done for the day.
How AI Recreates the Golden Hour Effect
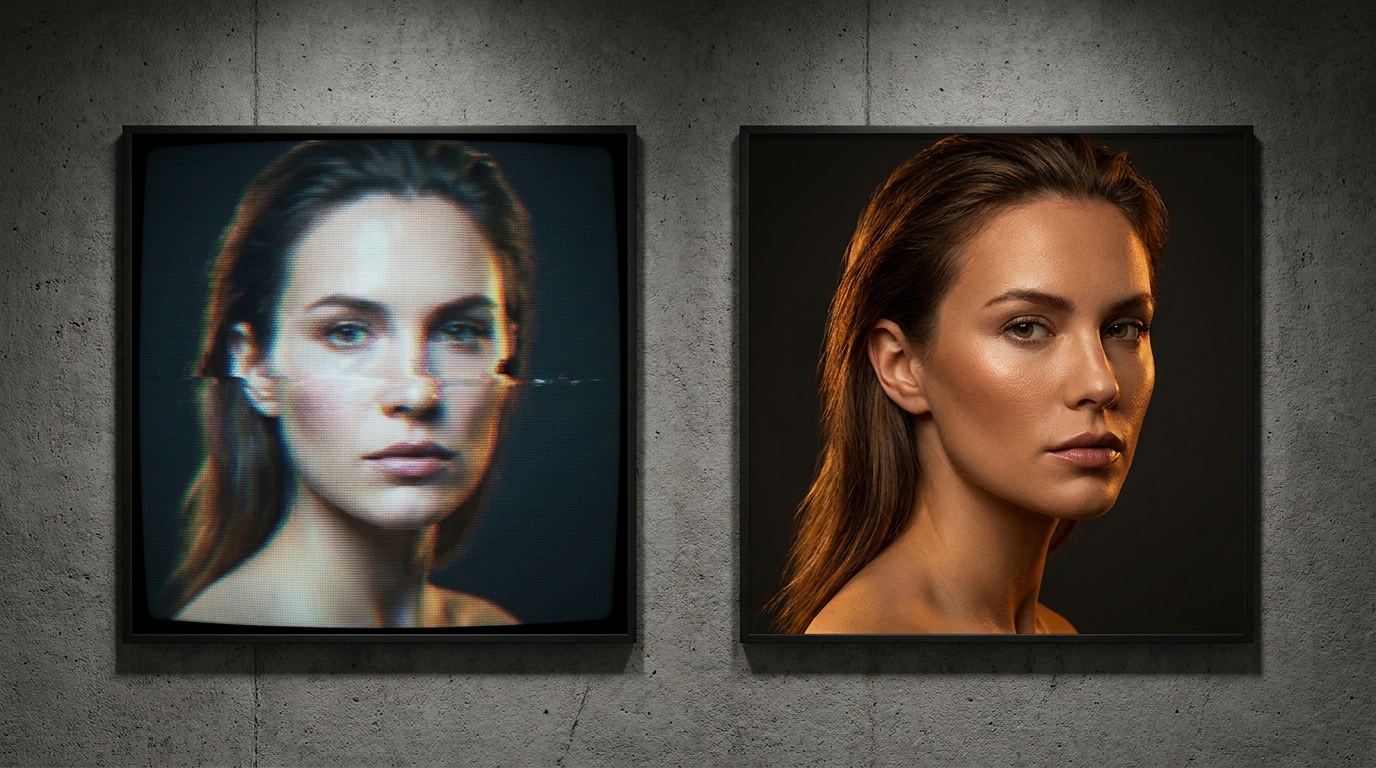
When you use AI to create a golden hour look, it’s doing much more than applying a simple orange filter. A cheap filter just tints the entire image, making skin tones look unnatural and crushing the details in the shadows. Sophisticated AI works more like a digital lighting artist.
Here’s a simplified breakdown of what’s happening behind the scenes:
- Scene Analysis: The AI first analyzes your photo to understand its composition. It identifies the person, maps the contours of their face and body, and separates them from the background. This is crucial for applying light realistically.
- Intelligent Relighting: This is the core of the process. The AI simulates a new light source—the low-angled sun. It calculates how this light would naturally fall across your features. It adds bright highlights to one side of your face, the bridge of your nose, and your hair, while deepening the shadows on the opposite side in a soft, gradual way.
- Sophisticated Color Grading: After relighting the scene, the AI performs a complex color correction. It doesn't just make everything orange. It warms up the highlights and mid-tones with golds and yellows, cools the shadows slightly with hints of magenta or blue for color contrast, and, most importantly, protects the skin tones to ensure they look healthy and natural, not jaundiced.
This process mimics what a professional retoucher would spend hours doing in Photoshop. The AI does it in minutes, generating a look that has authentic depth, dimension, and color harmony.
Choosing the Right Source Photo for Your AI Golden Hour Portrait
This is the single most important step. The rule in both photography and AI is “quality in, quality out.” An AI can do amazing things, but it gets the best results when it has a good foundation to work with. Uploading the wrong kind of photo is the number one mistake I see people make.
Lighting: The Foundation of a Good Edit
The ideal source photo is taken in soft, even, and neutral light. This gives the AI a clean canvas to “paint” the new light onto without having to fight pre-existing, harsh lighting conditions.
- Best Case: A photo taken on an overcast or cloudy day. The clouds act as a giant softbox, creating diffuse light with very soft shadows. This is perfect.
- Also Great: A photo taken in open shade. This means you’re in a shady spot (like under a tree or the awning of a building) but facing out towards the open, bright sky. Your face will be evenly lit.
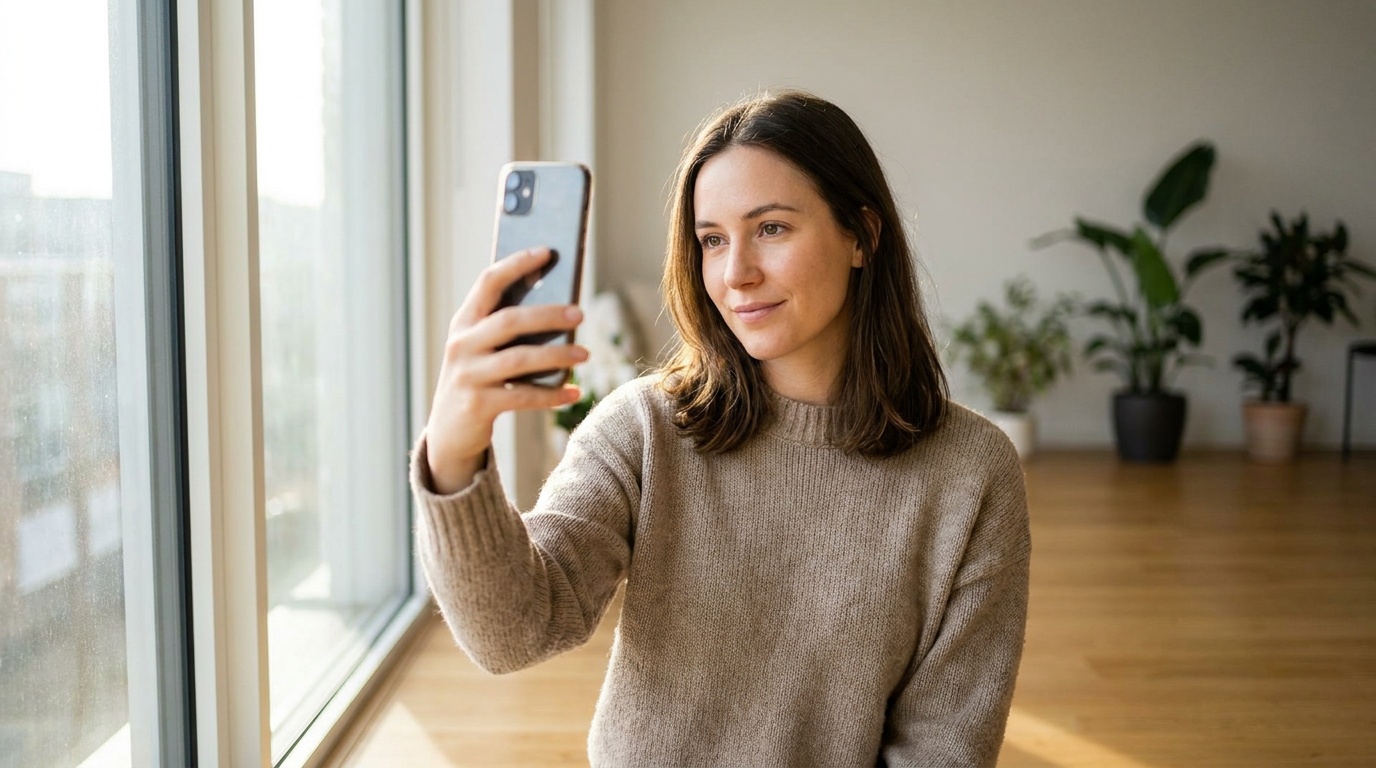
- Good Enough: A photo taken indoors facing a large window (with no direct sun streaming in). This mimics the soft light of an overcast day.
Common Mistake: Using a photo taken in direct, harsh midday sun. This creates strong, dark shadows under the nose and chin and harsh highlights on the forehead. The AI has to work overtime to remove these shadows before adding its own, and the result can look artificial.
Composition and Background: Setting the Scene
For the AI to work its magic on you, it needs to see you clearly. Keep the composition simple.
- Focus on You: Your photo should be a clear shot of your face, neck, and shoulders. Headshots or upper-body shots work best.
- Simple Backgrounds Rule: A plain wall, a blurry outdoor scene, or an uncluttered room is ideal. A busy background with lots of other people, complex patterns, or distracting objects can confuse the AI and detract from the final portrait.
- Image Quality: Use a photo that is in focus and reasonably high-resolution. A blurry, pixelated selfie from a dark room will not produce a good result.
Pose and Expression: Capturing the Mood
Golden hour photos feel warm, relaxed, and often a little nostalgic. Your pose and expression should match this mood.
- Relax Your Body: Avoid a stiff, passport-photo posture. Turn your body slightly to the side and your head back towards the camera. A slight head tilt can add a lot of personality.
- Natural Expressions: A soft, gentle smile or even a more thoughtful, serene expression works beautifully. Think about the feeling you want to convey—calm, happy, confident.
- Pro Tip: Even though the light will be added by AI, try posing as if you are in golden hour light. Turn your face slightly to one side, as if to catch the setting sun. This will make your final pose feel perfectly matched to the AI-generated lighting.
Upload a photo, pick a look and get your portrait in a minute. Your face stays yours.
Try itStyling Your Look for the Ultimate Golden Hour Glow
Once you've chosen the perfect source photo, you can enhance the final result even further by considering your wardrobe and styling. The warm, soft light of golden hour pairs beautifully with certain colors, textures, and styles.
Clothing Choices
The goal is harmony, not conflict. You want your clothing to complement the warm light, not fight against it.
- Colors to Wear: Earth tones are a perfect match. Think cream, beige, olive green, rust, mustard yellow, and terracotta. Soft pastels like dusty rose or light blue can also work well.
- Textures to Try: The soft light loves texture. Materials like linen, soft-knit sweaters, denim, corduroy, or cotton add visual interest and catch the light in beautiful ways.
- What to Avoid: I'd recommend steering clear of neon colors, which can look jarring and unnatural in warm light. Very busy, high-contrast patterns can also be distracting.
Hair and Makeup
Less is more. The golden hour aesthetic is all about natural beauty enhanced by beautiful light.
- Makeup: Opt for a “no-makeup” makeup look. Focus on dewy skin, a touch of bronzer to add warmth, groomed brows, and a neutral lip color. A little highlighter on the cheekbones can accentuate the effect the AI will create.
- Hair: Loose, flowing hair, soft waves, or a relaxed updo with a few stray tendrils are perfect for catching the simulated rim light. The AI will often add a beautiful halo effect to your hair, and these styles give it something to work with.
From Selfie to Studio Quality: The Process
Once you have your ideal photo and have styled your look, the final steps are simple. Using a service like Portretto, you can transform your selfie into a professional-looking portrait in just a few clicks.
- Select Your Best Shot: Go through your camera roll and find the photo that best matches the guidelines above—soft lighting, simple background, clear view of your face.
- Upload and Choose Your Style: Upload the photo to the AI portrait generator. You'll then be presented with a library of styles. Select the “Golden Hour” or a similarly named style that captures that warm, sun-kissed look.
- Let the AI Work: The platform will then process your image, applying the sophisticated relighting and color grading techniques. It typically generates several variations for you to choose from.
- Choose Your Favorite: Review the results. Look for the option where the light feels most natural on your face and the overall mood fits what you envisioned. Download your new, high-resolution portrait, ready to be used anywhere.
Common Mistakes When Creating a Golden Hour Portrait with AI
While the process is powerful, there are a few common pitfalls that can lead to less-than-ideal results. Avoiding them will ensure you get a portrait you love.
- The Garbage In, Garbage Out Rule: I can't stress this enough. Starting with a low-quality, blurry, or poorly lit photo is the fastest way to get a disappointing result. The AI is a light editor, not a miracle worker.
- Ignoring the Context: The AI does a fantastic job of relighting you, but it doesn't usually change the background. If your source photo was taken in a sterile office, the warm, beautiful light on your face will look out of place. Choose a background that feels plausible for a sunset scene.
- Expecting a Filter: Don't think of this as a simple Instagram filter. The goal of a good AI golden hour portrait is realism. The best tools preserve your unique facial features and identity, enhancing you with beautiful light rather than creating an unrealistic digital painting.
- Mismatching Mood and Purpose: The dreamy, warm vibe of a golden hour portrait is perfect for social media profiles, personal websites, or dating apps. However, it might not be the best choice for a formal corporate headshot for a law firm's website. Always match the style to the intended use.
FAQ
What is a golden hour portrait?
A golden hour portrait is a photo of a person taken shortly after sunrise or before sunset. This time of day is known for its soft, warm, and directional light, which is very flattering and creates a dreamy, atmospheric mood with long, soft shadows.
Can AI really create a realistic golden hour effect?
Yes. Modern AI doesn't just apply a simple orange filter. It analyzes the 3D structure of your face from a 2D photo and digitally relights the scene, simulating how a low-angled sun would create natural highlights and soft shadows while preserving realistic skin tones.
What kind of photo should I upload for an AI golden hour portrait?
For the best results, upload a clear, high-resolution photo of yourself taken in soft, even light. Photos from an overcast day or in open shade are ideal because they provide a neutral base for the AI to add new lighting and shadows to.
Does AI change my face when adding the golden hour effect?
No, a quality AI portrait generator like Portretto is designed to preserve your real face and unique features. It enhances your portrait by adding realistic lighting, color, and atmosphere, but it does not alter your core identity. The final image will still look like you, just professionally lit.
Can I use a black and white photo to create a golden hour portrait?
It's not recommended. The AI relies on the color and light information in the original photo to create a realistic result. While it might work, starting with a color photo taken in good, neutral light will produce a much more convincing and high-quality golden hour portrait.