AI Headshot Doesn't Look Like Me? A 5-Step Fix
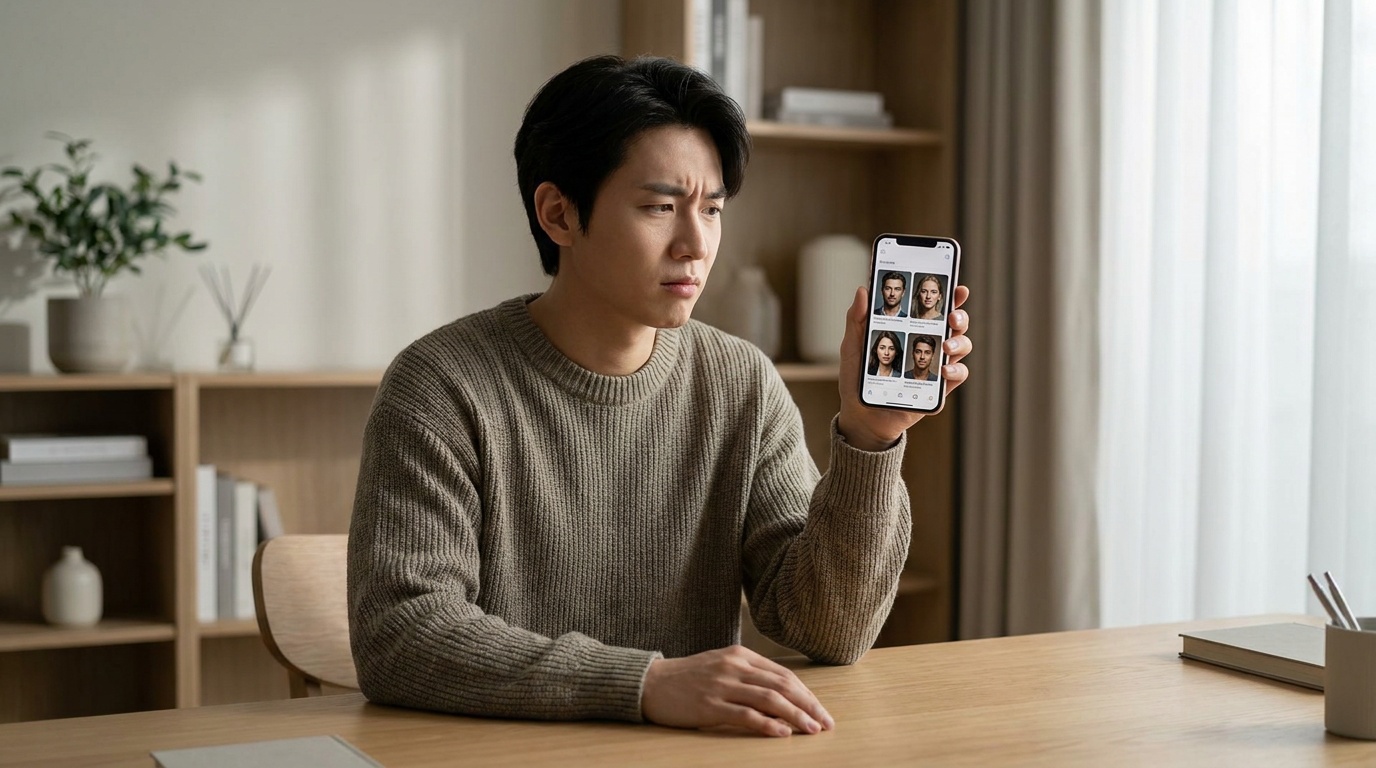
It’s a frustrating experience: you upload your best selfies, wait with anticipation, and the results are... not you. If you’ve found yourself thinking, my AI headshot doesn't look like me, you're not alone. As a portrait photographer who has spent years understanding how light and angles shape a face, I can tell you the problem almost always starts with the source material. Let's fix that.
The "Garbage In, Gospel Out" Rule of AI Photography
In computing, there's a classic principle: "Garbage In, Garbage Out." With AI image generation, I call it "Garbage In, Gospel Out." The AI model takes the information you provide—your selfies—as the absolute truth, the gospel of what you look like. It doesn't know you had a bad hair day, the lighting was weird, or that you used a distorting wide-angle selfie lens. It simply learns from the data it's given.
If your input photos are inconsistent, poorly lit, or show distorted features, the AI will faithfully reproduce and often amplify those flaws. It might merge the sharp jawline from one photo with the softer one from another, creating a composite face that feels like a distant cousin rather than your twin. The key to getting an AI portrait that truly looks like you is to feed the AI a clean, consistent, and high-quality dataset of your own face. This guide will show you how to create that dataset.
Step 1: Curate Your Input Photos Like a Photographer
The single most important step is choosing your input photos. Don't just grab the last 15 photos from your camera roll. You need to be intentional and curate a collection that gives the AI a complete, 360-degree understanding of your facial structure.
The Power of Variety
Imagine you're describing a sculpture to someone who can't see it. You wouldn't just show them one picture from the front. You'd show them the front, the side, a three-quarter view, and close-ups of the details. You need to do the same for the AI.
Your Photo Curation Checklist:
- 3–5 Close-Ups: From the shoulders up. These are crucial for the AI to learn the fine details of your eyes, nose, and mouth.
- 3–5 Mid-Shots: From the waist up. This helps the AI understand your proportions, shoulder width, and how your head sits on your neck.
- A Mix of Angles: Include photos looking straight at the camera, with your head turned slightly to the left, slightly to the right, and perhaps one profile shot. This teaches the AI the three-dimensional structure of your face.
- Varied Expressions: Provide a few options. A natural, gentle smile (with and without teeth) and a neutral, relaxed expression are the most important. Avoid overly dramatic or goofy faces, as the AI might misinterpret or exaggerate them.
What to Absolutely Avoid
Equally important is what you leave out. A single bad photo can throw off the entire batch.
- Group Photos: Never use them. The AI can get confused about which face is yours.
- Obstructed Faces: No sunglasses, no hats casting shadows, no hands covering your mouth. The AI needs to see your full, unobscured face.
- Old or Outdated Photos: Don't mix photos from five years ago with photos from last week, especially if your hairstyle, weight, or facial hair has changed. The AI will try to merge them, resulting in an inaccurate portrait.
- Heavily Filtered Images: Avoid anything with Snapchat/Instagram filters, heavy skin smoothing, or artistic effects. These filters alter your facial data. The AI needs your real texture and features.
- Low-Resolution or Blurry Photos: If the image is blurry, the AI has to guess what the details look like. Its guesses will likely be wrong.
Step 2: Become a Master of Light (No Studio Needed)
As a photographer, I can tell you that light is everything. It sculpts the face, defines features, and sets the mood. Bad lighting is a primary reason an AI-generated photo doesn't look like you. Luckily, perfect lighting is free and available to everyone.
Find Your Window Light
The best light for any portrait is soft, diffused, natural light. The easiest way to get this is to use a large window as your light source.
How to Do It:
- Find a large window in your home.
- Turn off all the indoor lights. Mixing light sources (e.g., the warm yellow of a lamp and the cool blue of daylight) confuses the AI's color interpretation.
- Stand facing the window, about 2–3 feet away.
- Have your phone or camera at eye level. The light should be falling evenly across your face.
The ideal time for this is on a slightly overcast day, which acts as a giant softbox, or in a window that doesn't have direct, harsh sunlight pouring through it. This setup minimizes harsh shadows and beautifully illuminates your natural features.
Common Lighting Mistakes
- Direct Overhead Light: The classic culprit is a ceiling light in a kitchen or office. It creates deep, dark shadows in your eye sockets ("raccoon eyes") and under your nose and chin, completely altering the perceived shape of your face.
- Harsh Direct Sunlight: This creates hard-edged, dark shadows and bright, blown-out highlights. It also makes you squint. The AI will see these squints and shadows as part of your permanent facial structure.
- Backlighting: This happens when you stand with a bright light source (like a window) behind you. Your phone's camera will expose for the bright background, leaving your face as a dark silhouette. The AI will have no facial data to work with.
Upload a photo, pick a look and get your portrait in a minute. Your face stays yours.
Try itMy AI Headshot Doesn't Look Like Me: Refining Pose & Expression
Even with perfect lighting and a great photo selection, your pose and expression can send the wrong signals to the AI. The goal is to look like the best, most authentic version of yourself, not a caricature.
Keep Your Pose and Expression Natural
Your input photos are a training manual. You want to teach the AI what your relaxed, confident, and professional self looks like.
- Pose: Avoid the perfectly square-to-camera "mugshot" pose. Angling your shoulders slightly to the left or right creates a more dynamic and flattering line. Keep your posture straight and gently lower your chin—this elongates the neck and defines the jawline. It's a simple trick every portrait photographer uses.
- Expression: A forced, cheesy grin looks fake in real life and even faker when interpreted by AI. To get a genuine smile, think of something or someone that actually makes you happy. For a neutral or serious shot, don't just blank out. Part your lips slightly and relax your jaw. It's the difference between looking serious and looking angry.
Beware the Selfie Distortion
A common mistake is taking selfies with your arm outstretched, holding the phone about a foot from your face. Phone cameras have wide-angle lenses. At close distances, these lenses distort your features—they can make your nose look larger, your forehead more prominent, and your chin smaller. The AI will assume this distorted version is your actual face.
The Fix: Don't take close-up selfies. Use your phone's self-timer and prop it up on a stack of books or a tripod 3–5 feet away. This distance minimizes lens distortion and produces a much more accurate and flattering representation of your face.
Step 4 & 5: The Final Polish Before You Generate
With your photos curated, lit, and posed correctly, these last two steps ensure you're giving the AI the best possible chance for success.
Step 4: Mind Your Wardrobe and Background
- Background: The AI can get distracted by a busy background. A cluttered room, complex patterns, or other people walking by can confuse the algorithm. The best background is the simplest: a plain, neutral-colored wall. White, gray, or beige works perfectly.
- Wardrobe: Stick to solid colors for your input photos. Busy patterns, stripes, or large logos can sometimes bleed into the final generated image in strange ways. Also, avoid turtlenecks or high collars that obscure your neck and jawline. A simple crew neck or V-neck shirt is ideal because it gives the AI a clear view of your head and how it connects to your shoulders.
Step 5: The Final Consistency Check
Look at your final 10–20 curated photos together. Ask yourself one question: Does this look like the same person on the same day?
The hairstyle should be consistent. If you have facial hair, it should be the same across all photos. If you wear glasses, it's a good idea to submit photos both with and without them, but make sure the ones with glasses are free of any glare that obscures your eyes.
This final check ensures you're not sending mixed signals. Once you have this polished set of images, you're ready. Upload them to a service like Portretto, which can use this high-quality input to generate a wide range of studio-quality headshots and portraits that finally look, feel, and are—authentically you.
Your Photographer's Blueprint for Success
The feeling that my AI portrait doesn't look like me stems from a misunderstanding of how the technology works. It's not magic; it's a powerful tool that relies entirely on the quality of what you feed it.
By acting as your own professional photographer—curating your images, controlling the light, and refining your pose—you take control of the outcome. You're no longer passively hoping for a good result; you're actively creating the conditions for a great one. Follow this 5-step plan for your next batch, and you'll get AI headshots you're not just happy with, but proud to show the world.
FAQ
Why do my AI headshots have weird eyes or hands?
AI models, especially older ones, struggle with complex, detailed anatomy like eyes and hands. Inconsistent lighting or angles in your input photos can exacerbate this, causing the AI to 'guess' and create distorted or asymmetrical features. Providing clear, well-lit close-ups helps the AI learn your eyes correctly.
How many photos should I upload for the best AI headshot?
Quality is more important than quantity, but a good range is between 10 and 20 high-quality photos. This should include a mix of close-ups (shoulders up) and mid-shots (waist up) from various angles to give the AI a complete understanding of your facial structure.
Can I use old photos for my AI headshot?
It's best to use recent photos where you look like you do now. Mixing old photos with new ones, especially if your hairstyle, weight, or facial hair has changed, will confuse the AI. It will try to merge your past and present appearances, leading to an inaccurate result.
Should I smile in my photos for an AI generator?
Yes, you should provide a variety of expressions. Include some photos with a natural, genuine smile (both with and without teeth showing) and some with a neutral, relaxed expression. This gives the AI more data to create portraits with different moods while keeping them authentic to you.