How to Edit AI Headshots for a Perfect Finish
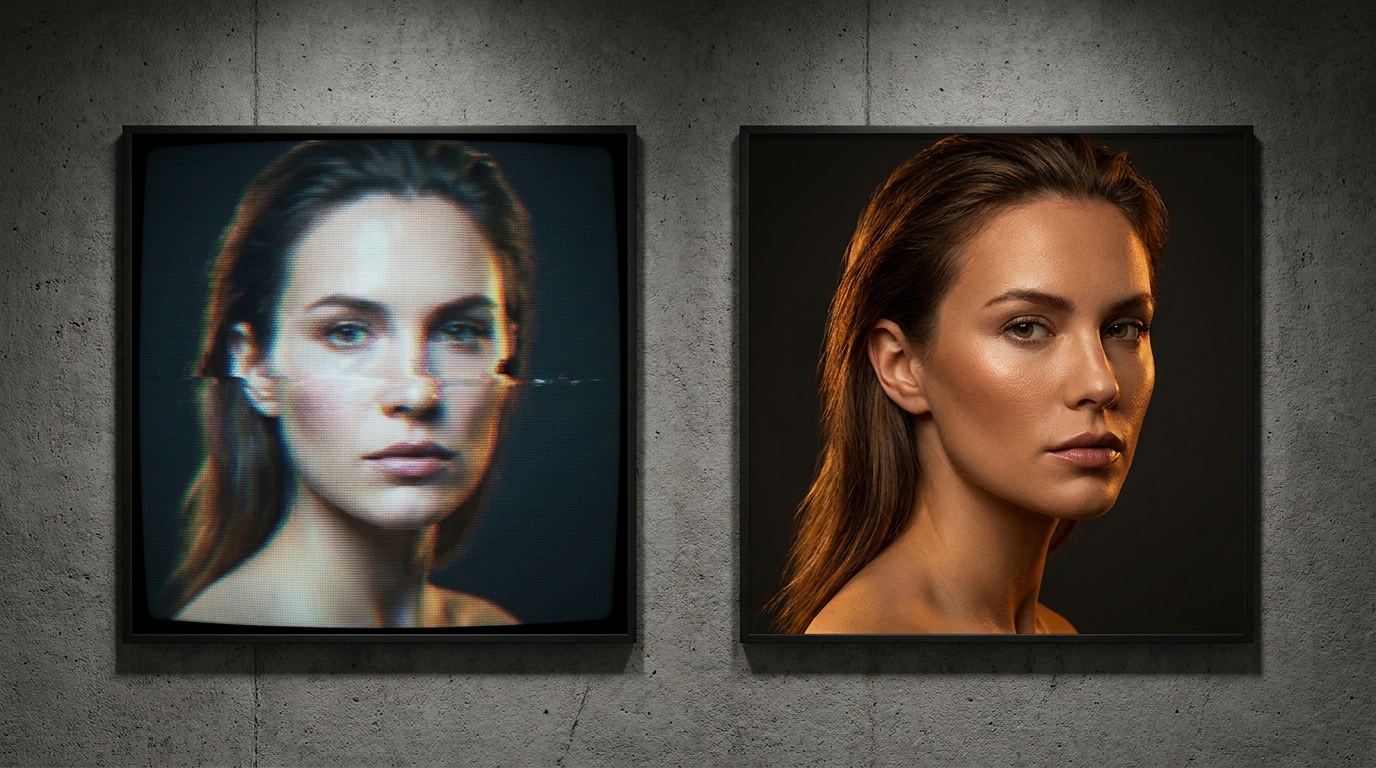
AI headshot generators are a game-changer, turning a simple selfie into a polished, professional portrait in minutes. But sometimes, even the best AI leaves a few tiny imperfections that need a human touch. Learning how to edit AI headshots yourself is the key to taking a 99% great image and making it 100% you, ready for LinkedIn, your CV, or your company's website.
As a portrait photographer who spends hours in editing software, I can tell you that the final 1% is where the magic happens. It’s about subtle refinements, not drastic changes. This guide will walk you through the exact steps I use to polish portraits, adapted specifically for the unique quirks of AI-generated images.
First, Assess Your AI Headshot: A Pre-Edit Checklist
Before you open any editing software, take a moment to critically evaluate your image. Zoom in to 100% and look closely. Rushing into edits without a clear goal is the fastest way to overdo it. Use this checklist to identify what, if anything, needs adjustment.
- Eyes and Eyebrows: Are the catchlights (the little reflections of light) in both eyes consistent? Does one eye look slightly larger or a different shape? AI can sometimes create asymmetrical eyes or strange reflections. Check eyebrows for any stray, disconnected hairs or an unnatural, blocky appearance.
- Teeth: If you’re smiling, are the teeth natural? Look for teeth that are too white, unnaturally uniform, or, in rare cases, an incorrect number of teeth. Sometimes the AI can blend them together slightly.
- Hair: This is a common area for AI artifacts. Look for stray digital strands that don't belong, a hairline that looks too perfect or slightly smudged, or areas where the hair blends unnaturally into the background.
- Skin Texture: Does the skin look like real skin? The biggest giveaway of an over-processed image is skin that looks like plastic. Good AI, like the kind used at Portretto, aims to preserve real skin texture, but sometimes a final tweak is needed. Look for over-smoothing or, conversely, strange digital patterns.
- Clothing and Jewelry: Examine the details. Does the pattern on your tie or blouse look consistent? Is a necklace chain complete and lying naturally? AI can sometimes struggle with repeating patterns, lapel edges, or delicate chains, causing them to look distorted or broken.
- Hands (if visible): Hands are notoriously difficult for AI. If your pose includes hands, check the fingers carefully. Look for the correct number of fingers, natural-looking joints, and realistic fingernails.
- Background: Is the background clean and consistent? Look for weird smudges, distorted lines, or patches of color that don't make sense. Even a simple studio background can have subtle inconsistencies.
Once you have your mental (or physical) list of small fixes, you can approach the editing process with precision and purpose.
Choosing Your Editing Tools: From Free to Pro
You don't need the most expensive software to make these subtle changes. The best tool is the one you're comfortable with. Here’s a breakdown of options suitable for this task.
Free Desktop Software
- Photopea: A web-based editor that looks and feels almost identical to Adobe Photoshop. It has all the essential tools you’ll need, including layers, healing brushes, and clone stamps. It's incredibly powerful for a free tool.
- GIMP (GNU Image Manipulation Program): A very capable open-source editor. It has a steeper learning curve than Photopea but is a fantastic option if you want a permanent, powerful program on your computer without a subscription.
Mobile Apps
For very minor tweaks, you can often get the job done on your phone. These are great for basic color and light adjustments but can be less precise for detailed artifact removal.
- Adobe Lightroom Mobile (Free Version): Excellent for adjusting light, color, and sharpening. The premium version includes a more advanced healing brush.
- Snapseed (by Google): A surprisingly powerful and intuitive mobile editor. Its "Healing" tool is quite effective for removing small blemishes or artifacts.
Professional Desktop Software (Paid)
- Adobe Photoshop: The industry standard for a reason. Its content-aware tools (Spot Healing Brush, Patch Tool, Content-Aware Fill) are unmatched for removing unwanted elements seamlessly. If you plan to do a lot of photo editing, it's a worthy investment.
- Adobe Lightroom Classic: While primarily an organizer and color grader, its Spot Removal tool is excellent for cleaning up minor distractions.
For the rest of this guide, I'll reference tools and techniques that are available in most of these programs, particularly those found in Photoshop and its free alternatives like Photopea.
How to Edit AI Headshots: The Core Touch-Up Workflow
Always work on a duplicate layer. Never edit your original image directly. In your software, find the layers panel, right-click your background layer, and select "Duplicate Layer." This is your safety net.
Step 1: Removing Minor Artifacts and Glitches
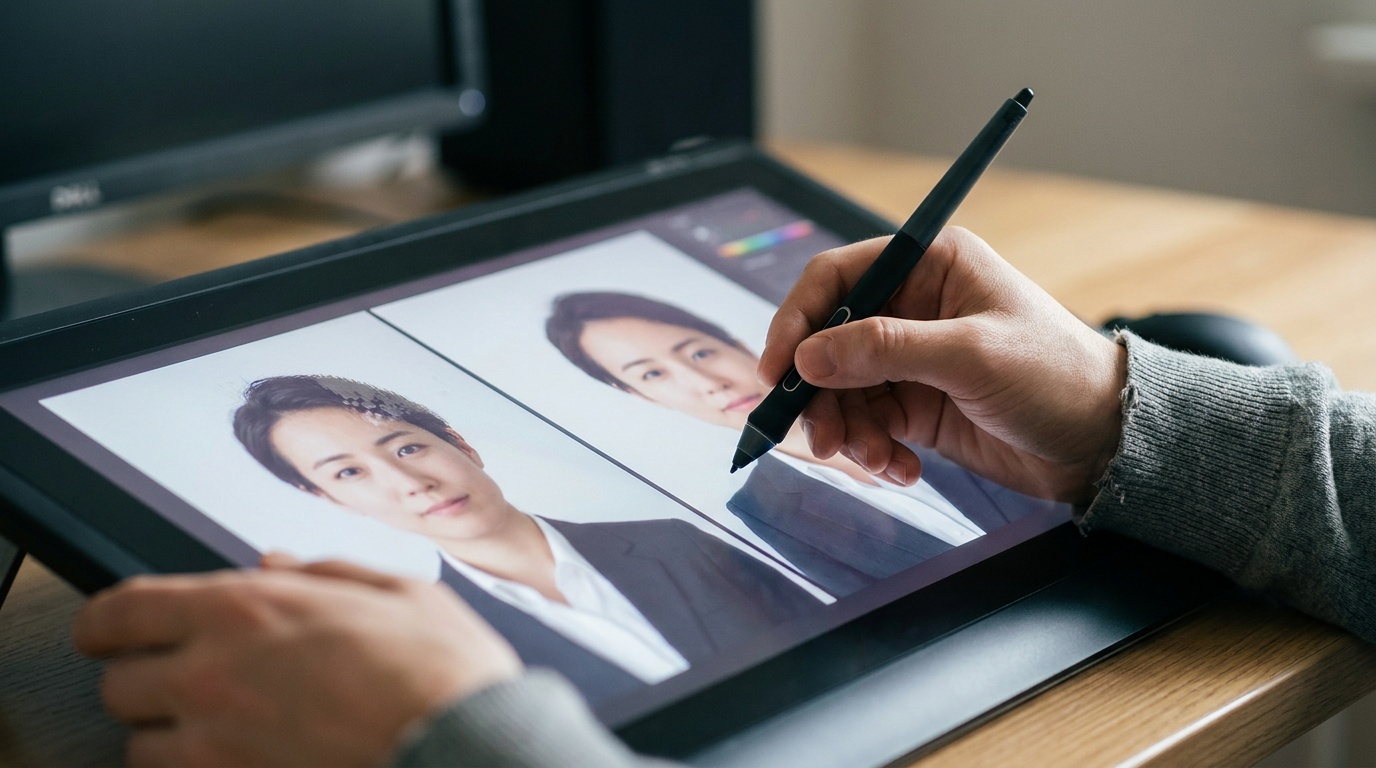
This is where you'll fix those strange details you spotted in your initial assessment. The main tools for this are the Spot Healing Brush and the Clone Stamp.
- Spot Healing Brush: This tool is your best friend for small, isolated issues like a digital stray hair, a weird spot on the background, or a minor blemish. Simply adjust the brush size to be slightly larger than the flaw and click. The tool automatically samples the surrounding pixels to blend the fix.
- Clone Stamp Tool: This tool gives you more control. You manually select a source area (hold Alt/Option and click) and then "paint" those pixels over the problem area. This is perfect for rebuilding parts of a pattern on a shirt, fixing a necklace chain, or correcting an unnatural-looking part of the ear. The key is to use a soft-edged brush and a low opacity (start around 20-30%) to build up the effect gradually.
Example: Your AI headshot has a small, weird smudge on the lapel of your blazer. The Spot Healing Brush might work, but it could blur the fabric texture. Instead, use the Clone Stamp. Select a clean, textured area of the lapel as your source, and then carefully paint over the smudge to rebuild the texture.
Step 2: Refining Skin and Hair
Subtlety is everything here. The goal is realistic, not plastic.
- Skin Softening: Avoid global blur filters. Instead, use a technique called "Frequency Separation" (you can find many tutorials for this online) for ultimate control. A simpler method is to duplicate your layer, apply a very slight Gaussian Blur (just enough to soften texture), and then add a layer mask. Using a soft white brush at a low opacity (10-20%), paint over the skin areas you want to soften, avoiding eyes, lips, hair, and the edges of the face to keep them sharp.
- Adding Texture: If the AI over-smoothed your skin, you can add a touch of realism back. Create a new layer, fill it with 50% gray, and add uniform monochrome noise (1-3%). Set this layer's blend mode to "Overlay" or "Soft Light" and lower the opacity until it's barely perceptible (5-15%). This can restore a believable skin-like texture.
- Fixing Hairlines: Use the Clone Stamp tool to clean up a smudged or jagged hairline. Sample a clean part of the forehead near the hairline and carefully paint along the edge to define it. For flyaway hairs, the Spot Healing Brush is usually sufficient.
Step 3: Enhancing Eyes and Teeth
This makes your portrait feel more alive, but it's easy to overdo.
- Whitening: Create a Hue/Saturation adjustment layer. Select "Yellows" from the dropdown menu and slightly decrease the saturation. Then, invert the layer mask (so it's black) and use a small, soft white brush at low opacity to paint over the whites of the eyes and teeth. This removes yellow tones naturally. Avoid increasing brightness, which often looks fake.
- Sharpening Eyes: Create a merged copy of all your layers at the top of the stack. Apply a sharpening filter (like Unsharp Mask). Add a black layer mask and use a white brush to paint the sharpening effect only onto the irises of the eyes. This makes them pop without affecting the rest of the image.
Upload a photo, pick a look and get your portrait in a minute. Your face stays yours.
Try itFine-Tuning Color, Light, and Composition
Once the technical fixes are done, you can make creative adjustments to enhance the overall mood and impact of your headshot.
Color Correction and Grading
Sometimes, the skin tone in an AI photo can feel a little off—too red, too yellow, or too magenta. Use a Selective Color or Color Balance adjustment layer. These tools let you subtly add or subtract specific colors from the highlights, midtones, and shadows.
For skin tones, gently adjust the sliders in the "Reds" and "Yellows" channels. A tiny shift is all you need. For example, if the skin looks too red, go to the Reds channel in Selective Color and slightly increase the Cyan slider. It's a process of tiny, incremental changes.
Exposure and Contrast
A simple Curves adjustment layer is the most powerful way to control brightness and contrast. Create a slight "S" shape with the curve: pull the upper part of the line up a tiny bit to brighten highlights, and pull the lower part down a tiny bit to deepen shadows. This adds a professional-looking contrast and "pop" to the image without blowing out highlights or crushing blacks.
Strategic Cropping
Don't just accept the default crop. Cropping changes the composition and focus of your portrait. Think about where the headshot will be used.
- LinkedIn/Social Media: A 1:1 square crop is standard. Position your face so your eyes are roughly on the top third line of the frame.
- Website 'About Us' Page: A 4:5 or 2:3 vertical crop often works well. A horizontal crop might be needed for a banner.
When cropping, follow the rule of thirds. Avoid placing your eyes directly in the center of the frame. A slightly off-center composition is more dynamic and engaging. Also, be careful not to crop too tightly. Leave some breathing room around your head.
Common Mistakes to Avoid When Editing AI Portraits
Knowing what not to do is just as important.
- The Plastic Skin Effect: This is the #1 mistake. It happens when you apply too much skin softening or noise reduction globally. Always use layer masks to apply edits selectively and keep natural texture.
- Glowing Eyes and Teeth: Over-whitening or over-brightening eyes and teeth is a dead giveaway of amateur retouching. The whites of our eyes are never pure white. The goal is to reduce yellowing, not to make them glow.
- Ignoring Inconsistencies: You might fix a stray hair but miss that the pattern on your collar is warped. A viewer's eye is drawn to things that are "off," even if they can't pinpoint why. Refer back to your initial checklist.
- Destructive Editing: Always use adjustment layers and work on duplicated layers. If you make a mistake or want to change something later, you can't if you've edited the original pixels directly.
- Saving in Low Quality: After all your hard work, don't ruin it by saving a low-quality file. For web use (like LinkedIn), save your final image as a high-quality JPG (around 80-90% quality) or a PNG file. Make sure the resolution is adequate, typically at least 1080x1080 pixels.
The Best Edit Is the Smallest Edit: Start with a Great Source
Ultimately, the less editing you have to do, the better and more natural the final result will be. The quality of your AI-generated headshot is heavily dependent on the quality of the photos you upload.
To minimize the need for post-production, start with the best possible source material. When using an AI photo studio, follow these tips for your input selfies:
- Use good, soft light: Face a window on an overcast day. Avoid harsh, direct sunlight or overhead lighting, which creates unflattering shadows.
- Keep your background simple: A plain wall is better than a cluttered room. This helps the AI focus on you.
- Ensure your face is clear: Push your hair back, take off sunglasses and hats. The AI needs to see your facial structure clearly.
- Vary your expressions and angles: Upload a range of photos with different smiles (or no smile) and slight head turns.
Using a service that prioritizes realism, like Portretto, can also save you significant editing time. These platforms are trained to preserve your unique facial features and create believable textures from the start, leaving you with only the tiniest, most enjoyable refinements to handle yourself. The process of editing your AI headshot becomes less about fixing errors and more about adding your personal final touch.
FAQ
What's the best software for editing AI headshots?
For free, web-based editing, Photopea is an excellent choice as it mimics Photoshop. For professional results, Adobe Photoshop offers the most powerful tools like the Content-Aware Fill and Spot Healing Brush. For quick mobile edits, Snapseed and Lightroom Mobile are great for color and minor fixes.
How do I fix weird eyes in my AI headshot?
First, check for asymmetry or inconsistent catchlights. You can use the Liquify tool (sparingly) to adjust eye shape or the Clone Stamp tool to copy a good catchlight from one eye to the other. To correct color, use a Hue/Saturation adjustment layer to subtly reduce yellowing in the whites of the eyes.
How can I make my AI headshot look more realistic?
The key is to avoid an over-processed look. If the skin is too smooth, add a very subtle layer of monochrome noise (1-3%) set to an Overlay blend mode to mimic skin texture. Ensure light and shadows are consistent, and avoid over-whitening teeth or eyes. The goal is refinement, not perfection.
Should I remove all flyaway hairs from my headshot?
Not necessarily. Removing major, distracting digital artifacts or stray hairs that cross over your face is a good idea. However, leaving a few minor, natural flyaways can actually make the photo look more authentic and less sterile. A perfectly smooth silhouette can sometimes look unnatural.
How do I fix my teeth in an AI photo?
If the AI has made them too white or blended them, use a Hue/Saturation adjustment layer. Select the 'Yellows' channel, and slightly decrease the saturation. Use a layer mask to apply this effect only to the teeth. If teeth are misshapen, you may need to use the Clone Stamp or Patch tool very carefully to rebuild their shape from a better area of the smile.