DIY Headshot vs AI: My Pro Photographer's Comparison
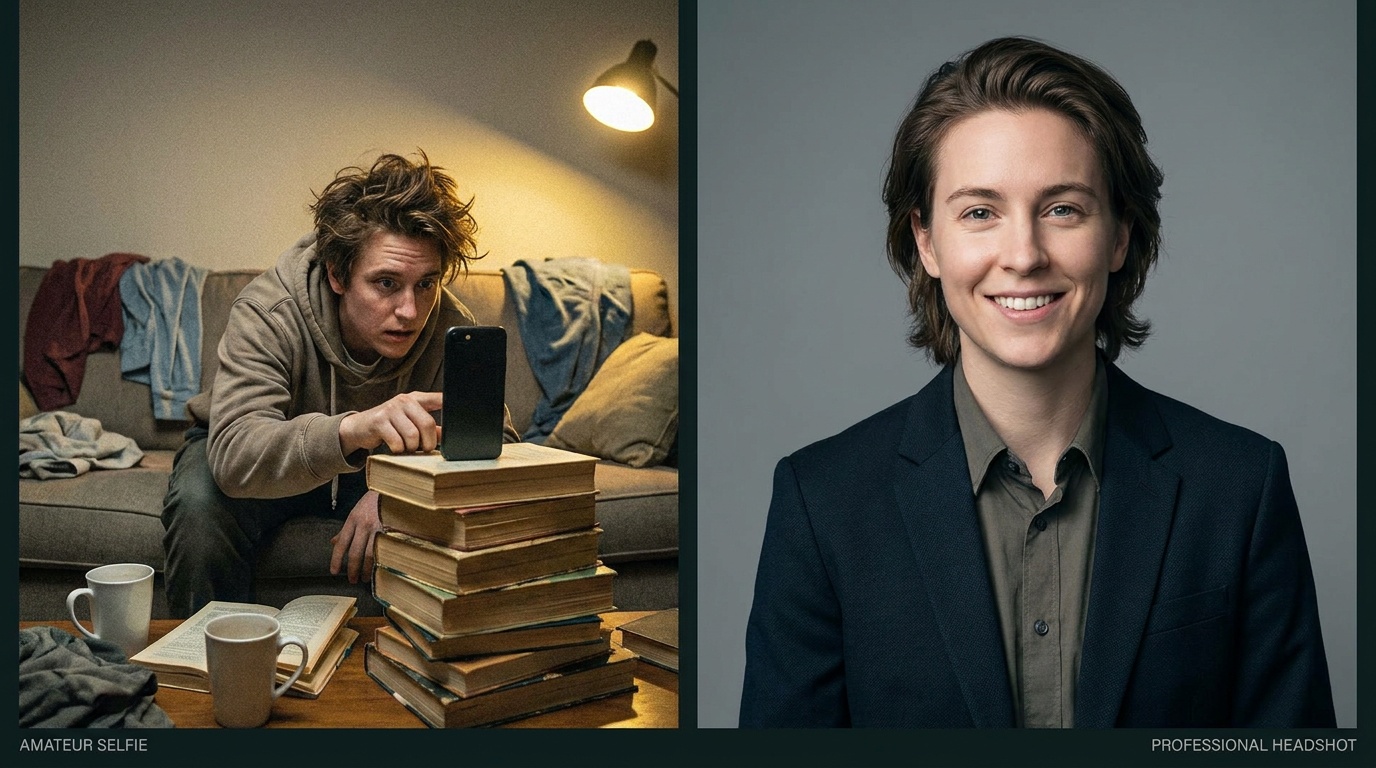
A great headshot is no longer just for actors and CEOs; it’s your digital handshake on LinkedIn, your website, and your speaker bio. As a portrait photographer, I’ve seen people spend thousands on photoshoots, but today you have more accessible options. This brings us to the ultimate modern showdown: the DIY headshot vs AI. I’m going to walk you through both processes, side-by-side, sharing my hands-on experience to help you decide which path is right for you.
The DIY Headshot Challenge: Can You Really Be Your Own Photographer?
The appeal of a DIY headshot is obvious: it’s cheap and you’re in control. But as someone who has spent years mastering light and posing, I can tell you it’s not as simple as pointing your phone and smiling. To get a result that looks polished and professional, you need to become a photographer, lighting technician, and art director all at once.
It’s a challenge, but it’s not impossible. The question is whether the time and effort are worth the final result. Let’s break down exactly what it takes to get a passable headshot using just your smartphone and a bit of ingenuity.
My Step-by-Step Guide to a DIY Headshot with a Smartphone
Forget pro cameras and expensive strobes. I’m going to guide you through a best-case scenario using gear you likely already own. This is the exact process I’d follow if I had to create a headshot for myself in a pinch.
Step 1: Gear and Setup Checklist
Your equipment and environment are 90% of the battle. Get this right, and you’re on your way.
- Your Smartphone: Any model from the last few years will work. Crucial first step: Clean your front and back lenses with a microfiber cloth. A smudgy lens is the number one saboteur of a sharp photo.
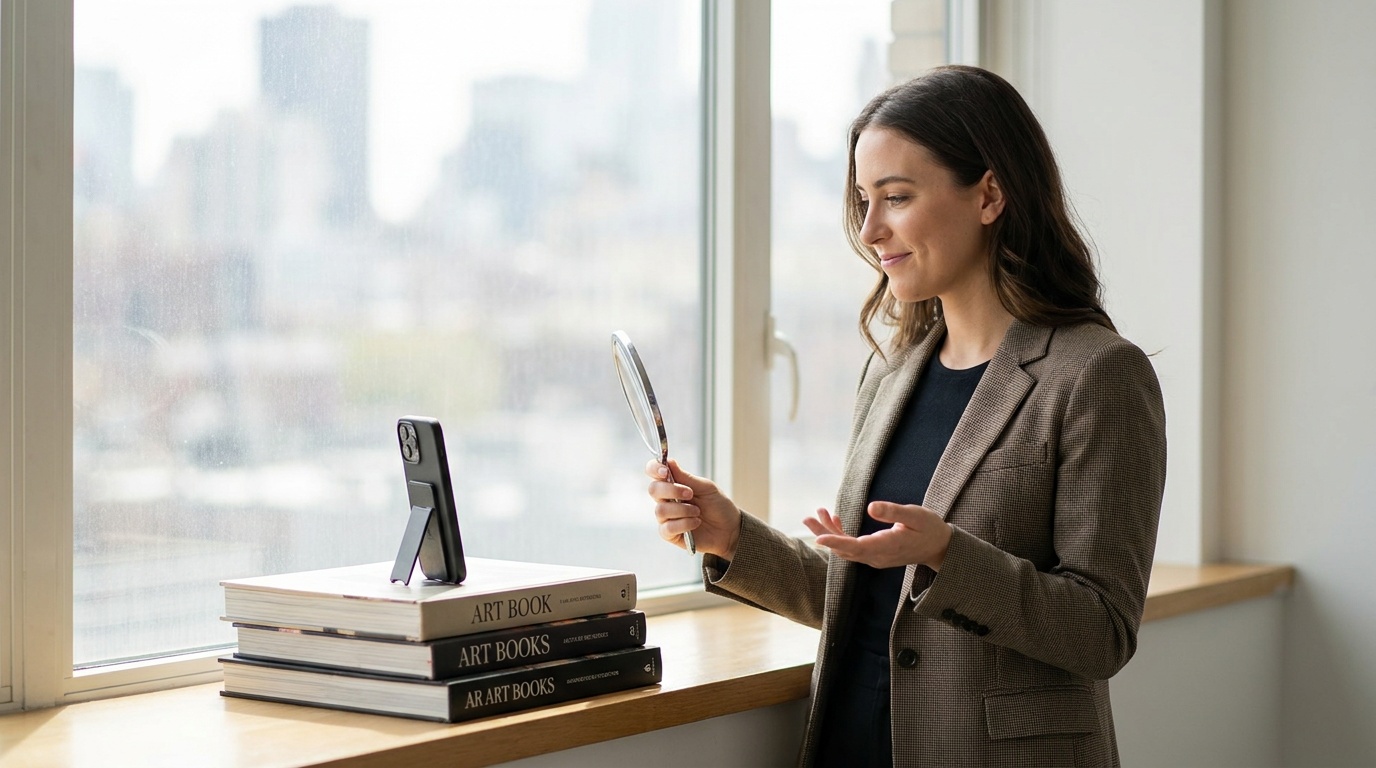
- A Sturdy Tripod: This is non-negotiable. Propping your phone on a stack of books is a recipe for strange angles, instability, and frustration. A simple, adjustable phone tripod gives you consistent height and angle, which is key for a professional look. Set it to roughly your eye level.
- A Great Light Source: This is the most important element. Forget your ceiling lights; they create unflattering shadows. Your best friend is a large window on an overcast day. This provides soft, diffused light that wraps around your face beautifully. Direct sun is too harsh.
- A Simple Background: Find a plain, neutral-colored wall (light gray, off-white, or even a dark, solid color). Avoid patterns, clutter, and distracting objects. The focus should be entirely on you.
- A Remote or Timer: Fumbling with the shutter button will ruin your pose. Use your phone’s built-in timer (set it to 5 or 10 seconds) so you have time to get into position and relax your hands.
Step 2: Nailing the Lighting
Once you’ve found your window, your position relative to it is everything. Don't stand with the window behind you; you'll become a silhouette.
Position yourself facing the window, about three to four feet away. This will illuminate your face evenly. For a more dynamic, three-dimensional look (what photographers call “short lighting”), turn your body about 45 degrees away from the window, but turn your head back towards it. One side of your face will be brighter, and the other will have a soft shadow, which adds depth and is very flattering.
Pro Tip: Grab a piece of white foam board or even just a large sheet of white paper. Hold it just out of the frame on the darker side of your face. This will act as a reflector, bouncing light back into the shadows and brightening up your eyes. It’s a simple trick that makes a world of difference.
Step 3: Posing, Expression, and Wardrobe
This is where self-portraits often go wrong. We tense up and produce a stiff, unnatural expression.
- Clothing: Choose a solid-colored top that you feel confident in. Avoid busy patterns, large logos, or colors that are too close to your skin tone. A simple blazer, a crisp collared shirt, or a well-fitting crew neck sweater are all great choices. Make sure it's ironed!
- Posing: Don’t face the camera straight-on. Angle your shoulders away from the camera, then turn your head back towards the lens. This is a more dynamic and slimming pose. To avoid a double chin, don't just lift your chin up. Instead, gently push your forehead towards the camera, as if you’re a turtle peeking out of its shell. It feels weird, but on camera, it creates a sharp, defined jawline.
- Expression: The 10-second timer is your friend. In the final few seconds, close your eyes, take a deep breath, and think of something genuinely funny or a happy memory. Open your eyes and smile (or smize) just as the shutter clicks. This technique helps create a more authentic expression than just holding a smile.
Step 4: The Shoot and Basic Editing
Take way more photos than you think you need. Try different angles, slight variations in your smile, and maybe even a more serious, confident look. Shoot for at least 15-20 minutes. It takes time to warm up.
When you’re done, scroll through and be ruthless. Look for shots where your eyes are in sharp focus and your expression feels genuine. Choose your top 2-3 contenders and do some light editing. Use your phone’s built-in editor or a free app like Snapseed.
- Crop: Crop to a standard headshot frame (head and shoulders).
- Brightness/Contrast: Make small adjustments to make the image pop, but don’t overdo it.
- Color: If the light was a bit yellow or blue, use the “white balance” tool to correct it.
Avoid Instagram-style filters at all costs. The goal is a clean, professional portrait, not a stylized selfie.
The DIY Headshot Verdict: The Pros and Cons
After all that work, you might have a perfectly usable headshot. But was it the best use of your time?
Pros of DIY:
- Cost-Effective: It’s essentially free if you already own a phone and can borrow a tripod.
- Total Control: You dictate the exact look, feel, and timing of the shoot.
- Immediate: You can decide to do it right now and have a photo within a few hours.
Cons of DIY:
- Time-Consuming: Realistically, the setup, shooting, culling, and editing can take 2-4 hours to get one good shot.
- High Learning Curve: Understanding light and posing takes practice. Your first, second, and even tenth attempts might look amateurish.
- Technical Limitations: Smartphone lenses can cause slight distortion up close, and the sensor can't capture the same level of detail and dynamic range as a professional camera.
- It Often Still Looks DIY: Even with the best technique, it can be difficult to escape that self-taken feel.
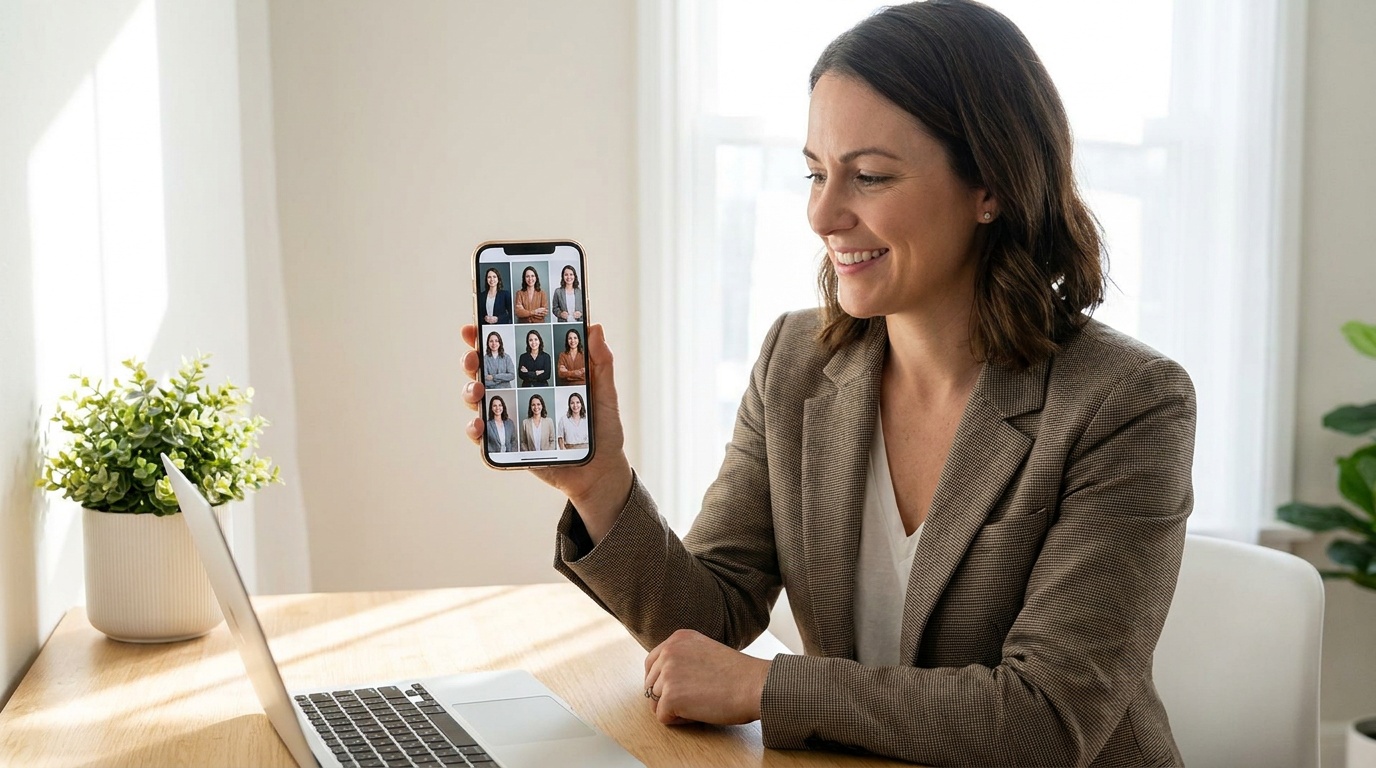
Upload a photo, pick a look and get your portrait in a minute. Your face stays yours.
Try itThe AI Headshot Experience: From Selfie to Studio Portrait
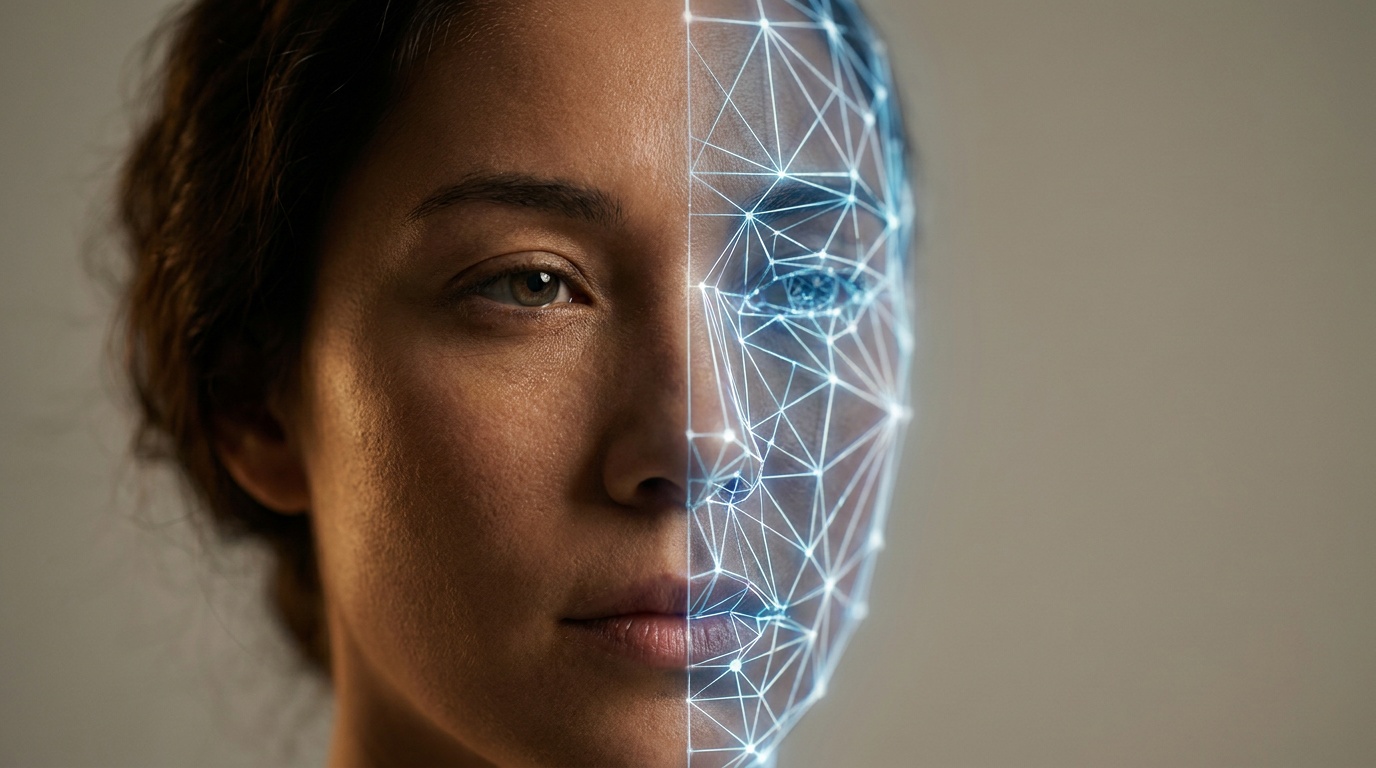
Now, let's look at the alternative. AI headshot generators work on a simple premise: you provide the AI with a set of existing photos of yourself, and it generates a new set of studio-quality portraits in various styles.
Instead of you becoming the photographer, the AI acts as your virtual photographer, stylist, and location scout all at once.
How It Works: The Importance of Your Input
The quality of your AI headshot is directly tied to the quality of the photos you upload. The AI needs clear data to learn your face. Garbage in, garbage out.
Checklist for Your Upload Photos:
- Variety is Key: Upload 10-20 photos. Include close-ups, chest-up shots, and a few full-body pictures.
- Different Angles: Provide photos from the front, three-quarter view, and profile. The AI needs to understand the shape of your head.
- Range of Expressions: A few smiling, a few neutral. This helps the AI generate more expressive results.
- Good, Clear Lighting: Use photos taken in good light where your face is clearly visible. Avoid photos that are dark, blurry, or have harsh shadows.
- Just You: Don't upload group photos. The AI can get confused.
- No Obstructions: Avoid photos with sunglasses, hats, or hands covering your face.
Once you upload your photos, you select the styles you want (e.g., corporate, editorial, black and white), and the AI gets to work. You don't have to do anything else but wait.
DIY Headshot vs AI Headshot: A Direct Comparison
So, how do the two final products stack up? This is where the debate over DIY headshot vs AI headshot gets interesting, moving beyond just the process to the actual results.
- Quality and Professionalism: A great DIY shot can look good. An AI headshot, however, can look like it was taken in a professional studio with a $5,000 camera and lighting setup. The AI simulates perfect lighting, high-end lens effects (like a blurred background, or 'bokeh'), and professional retouching that are extremely difficult to achieve on your own.
- Time and Effort: My DIY shoot took about two hours from setup to final edit for one good photo. The AI process took me 10 minutes to select and upload photos. I then received a gallery of over 100 headshots a few hours later while I was doing other work. The time savings are immense.
- Variety and Versatility: This is AI's biggest advantage. With my DIY shoot, I got one outfit and one background. An AI service like Portretto can deliver dozens of distinct looks in a single batch. You can get headshots in a business suit for LinkedIn, a casual sweater for your personal blog, and a dramatic black-and-white portrait for a speaker bio, all from one set of uploaded selfies.
- Cost: The DIY route is nearly free. An AI headshot service has a fee. However, when you compare that fee (typically under $50) to the cost of a professional photographer (often $300+ for a single look), AI presents an incredible value proposition. It’s the perfect middle ground between free-but-frustrating and expensive-but-excellent.
My Final Recommendation: Which Option Is Right for You?
As a photographer, I appreciate the craft of a DIY project. But as a practical professional, I value results and efficiency. After going through both processes, my recommendation is clear and depends entirely on your priorities.
You should choose a DIY headshot if:
- Your budget is absolutely zero.
- You genuinely enjoy photography and want to learn, viewing the process itself as a fun challenge.
- You only need one simple, “good enough” photo for a very casual purpose and have a few hours to spare.
You should choose an AI headshot if:
- You value your time and want professional results without the learning curve.
- You need a versatile portfolio of different looks for various professional platforms.
- You don't have access to a good location, lighting, or equipment to produce a high-quality photo yourself.
- You want to look your best and ensure your headshot conveys competence and professionalism, matching the quality of a traditional photoshoot.
The contest of a DIY headshot vs AI isn't about one being “good” and the other “bad.” It's about a fundamental trade-off: your time and effort versus a modest financial cost for superior variety and quality. For most busy professionals today, the efficiency, versatility, and consistent quality of an AI headshot make it the clear winner.
FAQ
Can a phone headshot look professional?
Yes, a phone headshot can look professional, but it requires significant effort. You need excellent natural light from a window, a stable tripod, a simple background, and some knowledge of posing. Even then, it's hard to replicate the background blur and crisp detail from a professional camera and studio lighting.
Are AI headshots worth it?
For most professionals, yes. AI headshots provide a fast, affordable way to get a wide variety of high-quality portraits for different platforms like LinkedIn, company websites, and speaker bios. They offer a level of quality and versatility that is difficult and time-consuming to achieve with a DIY approach.
What is the biggest mistake in DIY headshots?
The single biggest and most common mistake is poor lighting. Using indoor ceiling lights or direct, harsh sunlight creates unflattering shadows under your eyes, nose, and chin. The best and easiest solution is to face a large window on an overcast day to get soft, even light on your face.
How do I get an AI headshot that looks like me?
The key is to provide the AI with high-quality input photos. Upload at least 10-15 clear, recent selfies and photos of yourself. Use a variety of angles (front, side) and expressions, and make sure your face isn't obscured by sunglasses, hats, or harsh shadows. This gives the AI the data it needs to accurately capture your likeness.