Can I Use an iPhone Selfie for LinkedIn? An Expert Guide
It’s a question I hear all the time from colleagues and clients: can I use an iPhone selfie for LinkedIn? The honest answer is yes, you can, but there's a huge difference between a quick, arm's-length selfie and a thoughtfully crafted self-portrait taken with your phone. As a photographer, I can tell you that a bad profile picture can undermine your credibility faster than a typo-filled resume, but a great one can make you look competent and approachable before a recruiter even reads your name.
Your LinkedIn profile picture is your digital handshake. It’s the first impression you make on potential employers, clients, and collaborators. In a sea of profiles, a professional and high-quality image signals that you pay attention to detail and care about your personal brand. A blurry, poorly lit, or overly casual photo sends the opposite message.
The Real Difference: Selfie vs. Self-Portrait
First, let's redefine our terms. When people think of a "selfie," they usually picture a casual photo taken with the front-facing camera, often at an odd angle, with a distracting background. This is not what you want for LinkedIn.
What we're aiming for is a self-portrait. This is an intentional, carefully composed photograph that you happen to take of yourself. The goal is to replicate the key elements of a professional headshot—good lighting, a clean background, and a professional demeanor—using the powerful camera you already own.
While a professional photographer is the gold standard for a headshot, a well-executed iPhone self-portrait is a perfectly acceptable and effective option. It’s infinitely better than a cropped vacation photo, a webcam screenshot, or worse, no photo at all.
The Non-Negotiable Checklist for a LinkedIn-Worthy iPhone Photo
Before you even press the shutter button, run through this mental checklist. Getting these elements right from the start will save you from trying to fix major problems in editing later.
- Lighting is King: Your face must be clearly visible and evenly lit. Soft, natural light is your best friend. Harsh shadows or underexposure are your worst enemies.
- Background is Queen: The background should be simple and non-distracting. It should support the subject (you), not compete with it.
- Composition & Framing: You should be the clear focus. A standard head-and-shoulders shot is classic for a reason. Your face should be in focus and fill a good portion of the frame.
- Professional Attire: Dress as you would for a job interview or an important meeting in your field. This varies by industry, but neat, clean, and professional is a universal rule.
- Authentic Expression: You want to look confident, professional, and approachable. A forced smile or a deer-in-the-headlights look won't do.
- Camera Choice: Always use the rear-facing camera on your iPhone. It has a much higher quality sensor and lens than the front-facing selfie camera.
- Clarity and Focus: The image must be sharp. Any motion blur or soft focus will immediately look unprofessional.
How to Take a Professional Headshot with Your iPhone: A Step-by-Step Guide
Ready to create a profile picture that works? Follow these steps. I've used this exact process to help friends and family create excellent headshots without a professional camera.
Step 1: Prepare Your Look
Just as you would for an in-person meeting, prepare yourself and your clothes. This small amount of effort makes a huge impact.
- Clothing: Opt for solid colors. Jewel tones (emerald, sapphire, ruby) and neutrals (navy, light gray, beige) are almost universally flattering. Avoid busy patterns, large logos, and neon colors. Make sure your clothes are clean and, most importantly, ironed. Wrinkles are incredibly distracting in a photo.
- Grooming: Style your hair neatly. If you wear makeup, keep it natural and professional. The goal is to look like a polished version of your everyday self.
Step 2: Find Your Light
This is the single most critical step. Bad lighting cannot be fixed.
- The Best Source: Find the largest window in your home or office. Stand facing it, about 2-3 feet away. The soft, diffused light from a window (especially on an overcast day) acts like a giant, professional softbox, creating flattering light with soft shadows.
- What to Avoid:
- Direct Sunlight: It creates harsh, dark shadows and makes you squint.
- Overhead Indoor Lighting: This is the worst offender. It casts deep, unflattering shadows under your eyes and nose (often called "raccoon eyes").
- Backlighting: Never stand with the window behind you. Your phone's camera will expose for the bright window, turning you into a dark silhouette.
Step 3: Set the Scene and Stabilize Your Phone
A shaky hand and a messy background will ruin your shot.
- Background: Find a plain, neutral-colored wall. If you don't have one, hang up a gray or beige bedsheet and pull it taut. An uncluttered, modern office or even a simple outdoor wall can work, but make sure it's not distracting. Your iPhone’s Portrait Mode can help blur the background, adding a professional touch.
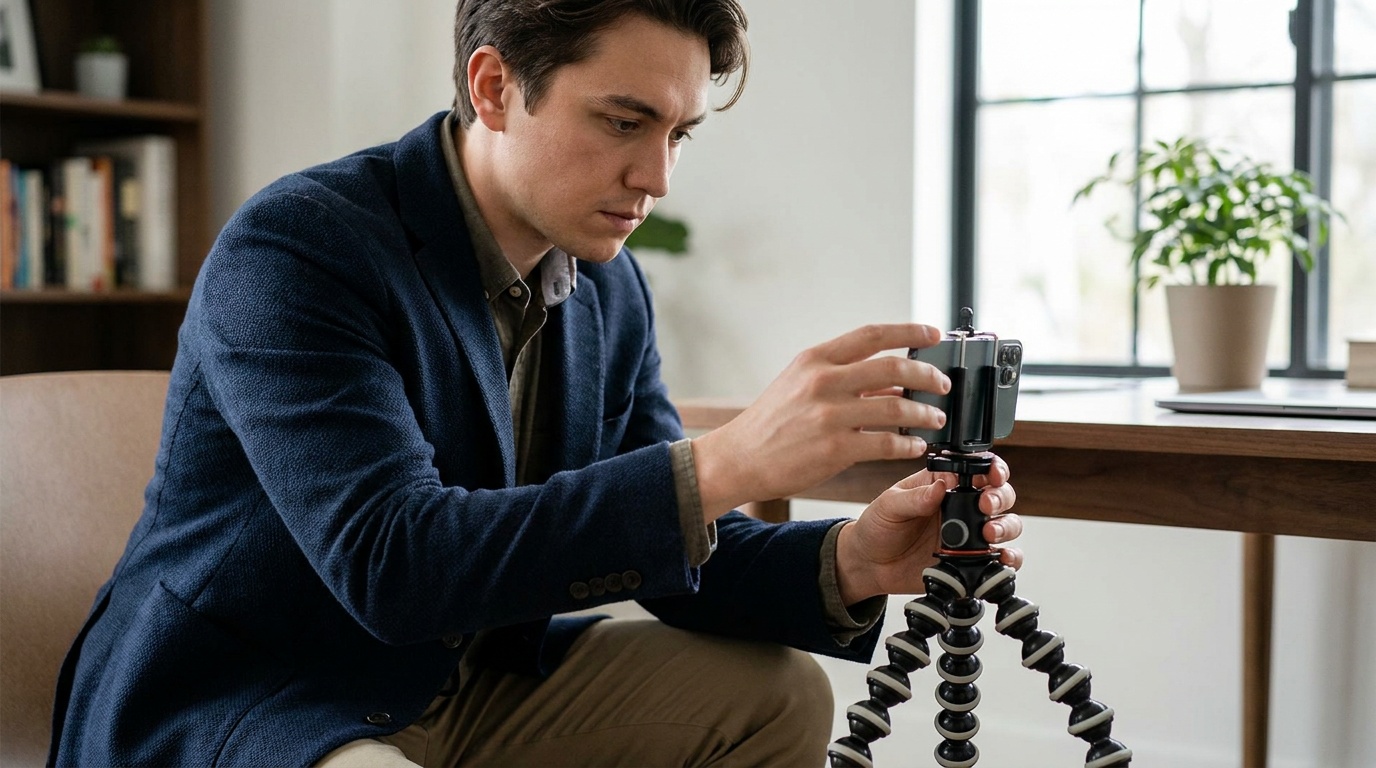
- Stability: Do not hold your phone at arm's length. To use the superior back camera, you need to stabilize it. The best option is a small, inexpensive phone tripod. If you don't have one, prop your phone vertically against a stack of books on a shelf or table. Make sure the camera is at your eye level.
Step 4: Frame the Shot and Use a Timer
Now you're ready to shoot.
- Camera Settings: Open your camera app and switch to the rear-facing lens. If your iPhone has it, select Portrait Mode. This will automatically create a blurred background (bokeh) that makes your photo look much more professional.
- Framing: Position yourself so you are framed from the mid-chest up. Leave a little bit of empty space above your head. This is a classic headshot crop.
- Use the Timer: Set your camera's self-timer to 3 or 10 seconds. This gives you enough time to press the shutter button (or a volume button) and get into a natural, relaxed pose. A Bluetooth remote is another great option.
Step 5: Pose and Expression
Take lots of photos. It's digital, so it costs nothing. This gives you plenty of options to choose from.
- Body Position: Avoid facing the camera straight-on like a passport photo. Angle your body about 45 degrees away from the camera, then turn your head back to face the lens. This creates a more dynamic and flattering line.
- Expression: The key to a good expression is to feel it. Think about a recent professional accomplishment or a genuinely happy memory. This will translate into a natural, confident smile that reaches your eyes (the "Duchenne smile"). A friendly, closed-mouth smile or a confident, neutral expression can also work well, depending on your personality and industry.
Upload a photo, pick a look and get your portrait in a minute. Your face stays yours.
Try itCommon iPhone Selfie Mistakes That Scream "Unprofessional"
Equally important is knowing what to avoid. If your current profile picture features any of these, it's time for an update.
- The Car Selfie: The lighting is often uneven, the seatbelt is distracting, and it just looks like you took it in a hurry.
- The Bathroom Selfie: Poor lighting, tiled backgrounds, and the reflection of your phone in the mirror are all hallmarks of an amateur photo.
- The Distorted Arm's-Length Shot: Using the front-facing camera held close to your face warps your features. The back camera from a distance gives a much more true-to-life perspective.
- On-Camera Flash: The built-in LED flash is harsh, flat, and creates red-eye. Always use natural light instead.
- Aggressive Filters or Editing: Your LinkedIn photo is not an Instagram post. Avoid trendy filters, excessive skin smoothing, or any effect that makes you look unnatural.
- The Cropped Group Photo: We've all seen them: the pixelated photo where you can clearly see someone else's arm around you. It says you couldn't be bothered to take a proper picture.
The Verdict: Can You Use an iPhone Selfie for LinkedIn?
So, back to the original question. A high-effort, well-executed self-portrait taken with an iPhone can absolutely work for your LinkedIn profile. It demonstrates resourcefulness and attention to detail. However, a low-effort, casual selfie will do more harm than good.
But what if you've tried all the steps above and still aren't getting a result you love? Or what if you simply don't have the time or a suitable space for a DIY photoshoot? This is where modern technology provides a fantastic alternative that bridges the gap between a DIY photo and a full-blown professional session.
Services like Portretto use AI to elevate a simple selfie into a collection of studio-quality portraits. You can take a clear, well-lit photo of yourself against any background, upload it, and the AI generates professional headshots with perfect studio lighting, classic backdrops, and even appropriate business attire. It preserves your unique facial features, so you still look like you—just the best, most professional version of you. It's the perfect solution for getting a polished, impressive result without the cost and hassle of a traditional photoshoot.
Quick Edits for a Polished Finish
Even a great photo can benefit from a few minor tweaks. Use your iPhone's built-in Photos app for these simple adjustments. Remember, the goal is enhancement, not transformation.
- Crop: Crop the photo to a head-and-shoulders composition. LinkedIn uses a circular frame, so make sure your face is well-centered with a bit of space around it.
- Brightness: If the photo is slightly dark, increase the brightness or exposure just enough to make your face clear.
- Contrast: Add a tiny touch of contrast to make the image pop, but don't overdo it.
- Sharpen: A very subtle increase in sharpness can make your eyes and other details look crisper.
- What to Avoid: Do not use the "Vibrance" or "Saturation" sliders aggressively. Stay away from vignettes and pre-packaged filters.
Ultimately, your LinkedIn photo is an investment in your professional brand. By following these guidelines, you can create an image with your iPhone that presents you as the capable, confident professional you are.
FAQ
What is the best background for a LinkedIn photo?
The best background is one that is simple and non-distracting. A solid, neutral-colored wall (like light gray or off-white) is a safe and professional choice. A tastefully blurred office or outdoor environment can also work, as long as you remain the clear focus of the image.
Should I smile in my LinkedIn picture?
Yes, a smile generally makes you appear more approachable and confident. Aim for a genuine, warm smile that reaches your eyes. If a full smile feels unnatural, a slight, confident smile or a pleasant, neutral expression can also be very effective.
Can I wear glasses in my LinkedIn photo?
Absolutely, especially if you wear them daily. You want your photo to be an accurate representation of you. When taking the photo, be mindful of reflections and glare from lights or windows on your lenses by adjusting your angle to the light source.
How often should I update my LinkedIn photo?
You should update your LinkedIn photo every 2-3 years, or whenever you have a significant change in your appearance (e.g., new hairstyle, new glasses, significant weight change). The goal is for people who meet you in person to recognize you instantly from your profile picture.
Is a black and white photo okay for LinkedIn?
A black and white photo can look very stylish and professional, particularly in creative fields like photography, art, or design. However, for most corporate and professional industries, a high-quality color photo is the standard and safer choice as it feels more vibrant and personal.