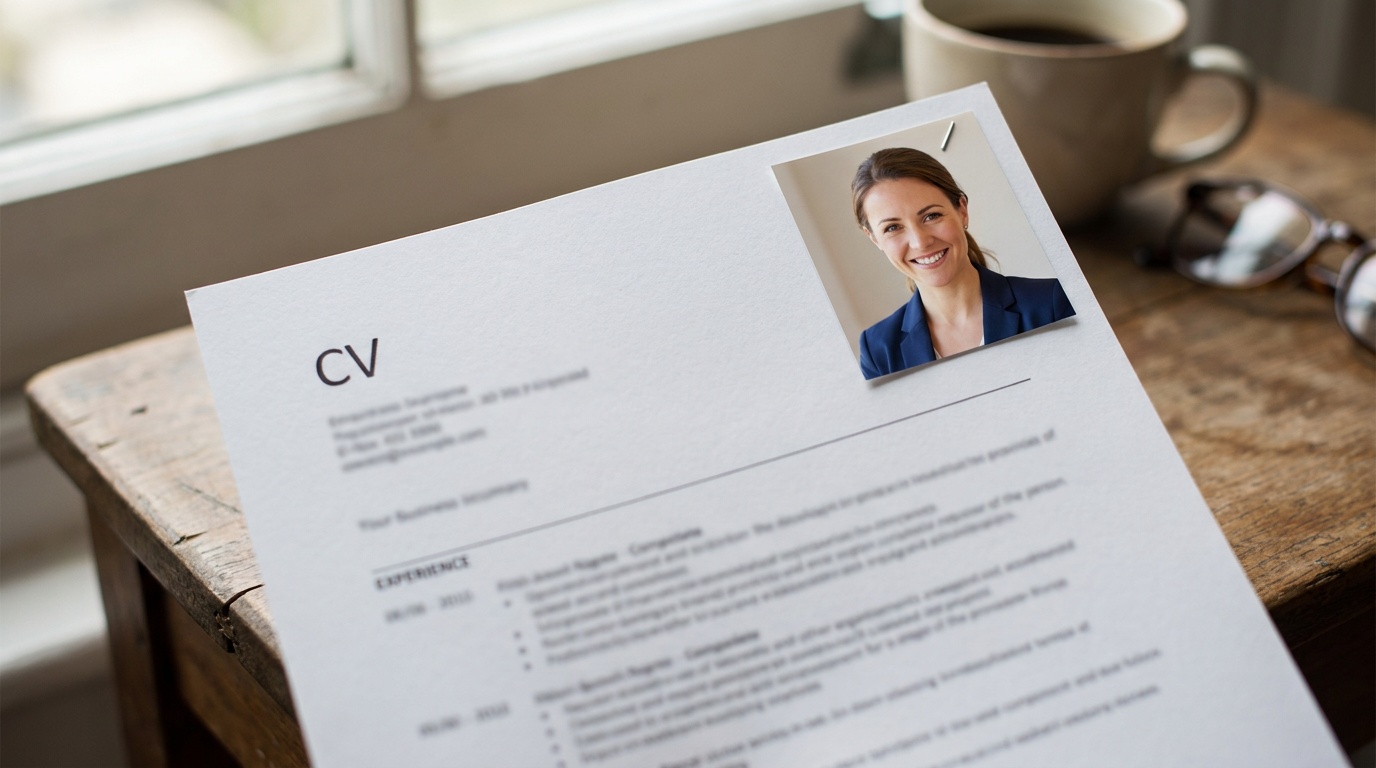
A Guide to the Perfect Professional Photo for Email Signature

Think about how many emails you send a day. Each one is a touchpoint, an interaction, and a chance to build your personal brand. A high-quality, professional photo for your email signature is one of the most underrated tools in your communication arsenal, turning a simple name into a memorable face and building trust before you even meet.
Why Your Email Signature Photo Matters More Than You Think
In my years as a portrait photographer, I've seen firsthand how a great headshot can open doors. When you attach that same power to every email you send, you're doing more than just adding a picture; you're making a strategic business decision. An email signature photo is your digital handshake.
It instantly humanizes your communication. In a world of overflowing inboxes and automated messages, seeing a friendly, professional face builds an immediate sense of connection and rapport. It tells the recipient, "There's a real person here who took the time to present themselves professionally." This small detail can significantly impact how your message is received, making you more memorable and approachable.
Furthermore, a polished email signature picture reinforces your credibility. It signals that you are detail-oriented and care about your professional image. Conversely, a missing photo, or worse, a blurry, poorly cropped, or unprofessional one, can subconsciously undermine your message. It might suggest a lack of effort or attention to detail—qualities you don't want associated with your name or business.
The Anatomy of an Effective Email Signature Photo
A truly effective email signature headshot isn't just any picture of your face. It's a carefully constructed image where every element works together to convey professionalism and approachability. Let's break down the key components.
Composition and Framing
Because the photo will be displayed at a small size, the framing is critical. You don't have the luxury of a full-body shot or a wide, environmental portrait.
- Stick to a Headshot: The ideal framing is a classic headshot (showing your full head) or a bust shot (head and shoulders). This ensures your face is the clear focus, even at a small scale.
- Mind Your Headroom: Leave a small, deliberate amount of space above your head. Too much empty space makes you look small and unimportant; too little makes the frame feel cramped and uncomfortable.
- Use the Rule of Thirds: While a centered shot can work, positioning your eyes along the top horizontal third of the frame often creates a more dynamic and engaging composition. This is a classic portrait photography principle that adds a touch of sophistication.
Expression and Pose
Your expression is where you connect with the viewer. The goal is to look like an approachable expert, not a stern security guard or someone on vacation.
- The Power of a Genuine Smile: A real smile, one that reaches your eyes (the 'Duchenne smile'), is universally welcoming. To achieve this, think of something genuinely funny or positive right before the photo is taken. If a full smile feels unnatural, a confident, slight smile is just as effective.
- Try "Squinching": This is a pro photographer's trick. It involves a very slight squint of your lower eyelids. It's the opposite of a wide-eyed, 'deer in the headlights' look and conveys confidence and focus.
- Angle Your Body: Facing the camera head-on can look confrontational, like a passport photo. Instead, angle your shoulders slightly away from the camera and turn your head back towards the lens. This creates a more dynamic and flattering line.
Background and Setting
The background should support the photo, not distract from it. A busy or unprofessional background can ruin an otherwise perfect shot.
- Simple is Best: A clean, solid, neutral-colored background (like light gray, white, or navy) is a foolproof choice. It puts all the emphasis on you.
- Subtle Office Environment: A background showing a softly blurred, professional office setting can also work well, especially if it helps contextualize your role. The key here is softly blurred (a shallow depth of field) so that the details are indistinct and not distracting.
- What to Avoid at All Costs: Messy rooms, cluttered desks, vacation scenery, brick walls that create busy patterns, and party backgrounds are immediate disqualifiers.
DIY Guide: Taking Your Own Professional Photo for Email Signature
You don't necessarily need to hire a professional photographer to get a great result. With a modern smartphone and a little planning, you can take an excellent headshot yourself. Here’s my step-by-step process.
Step 1: Find the Best Light
Lighting is the single most important element in photography. It separates a flat, amateur snapshot from a vibrant, professional portrait.
- Use Window Light: The best light for portraits is soft, diffused natural light. Position yourself facing a large window on an overcast day. The clouds act as a giant softbox, creating even, flattering light with soft shadows. Avoid direct, harsh sunlight, which creates hard shadows and makes you squint.
- Avoid Bad Indoor Lighting: Never stand directly under an overhead light (like a ceiling fan light or recessed lighting). This creates unflattering shadows under your eyes, nose, and chin, often called 'raccoon eyes.'
- Improvise with Artificial Light: If you must shoot indoors at night, don't rely on a single overhead lamp. If you have a ring light, use it. If not, try placing two household lamps at 45-degree angles to your face to create a more balanced, dimensional light.
Step 2: Set Up Your Gear
Your smartphone is more than capable, but how you use it matters.
- Use the Rear Camera: Your phone's main rear-facing camera has a much higher quality sensor and lens than the front-facing 'selfie' camera. The difference in detail and clarity is significant.
- Stabilize Your Phone: Do not hold the phone at arm's length. This introduces camera shake and results in a slightly distorted perspective. Use a small tripod or prop your phone securely on a stack of books on a table or shelf. The lens should be roughly at your eye level.
- Use the Timer: Set your camera's self-timer to 3 or 10 seconds. This gives you time to press the shutter button (or use a Bluetooth remote) and get into a natural, relaxed pose without rushing.
Step 3: Dress for Success
Your clothing choices communicate a lot about your professional persona. The goal is to look polished and put-together.
- Mirror Your Work Attire: Wear what you would wear to an important client meeting or a job interview in your field. This ensures authenticity. A lawyer will dress differently from a graphic designer, and your photo should reflect that.
- Choose Solid Colors: Solid colors are almost always a better choice than busy patterns, stripes, or large graphics, which can be distracting in a small photo. Jewel tones (like emerald, sapphire, and burgundy) and classic neutrals tend to look great on camera.
- Check for Details: Make sure your clothes are clean, fit well, and are free of wrinkles. These small details make a big difference in the final impression.
Upload a photo, pick a look and get your portrait in a minute. Your face stays yours.
Try itCommon Mistakes to Avoid
Knowing what not to do is just as important as knowing what to do. Here are the most common mistakes I see people make with their email signature photos.
- The Cropped Group Photo: You can always spot this one—the awkward disembodied shoulder or arm of the person you cropped out. It immediately signals a lack of effort. Fix: Always take a dedicated photo for your headshot.
- The Outdated "Ghost" Photo: Using a photo from 5, 10, or even 15 years ago. It creates a moment of disconnect when people meet you in person or on a video call. Fix: Update your headshot every 2-3 years, or after any significant change in your appearance (new hairstyle, glasses, etc.).
- The Low-Quality, Pixelated Image: A blurry, pixelated photo looks unprofessional and suggests you're not tech-savvy. Fix: Start with a high-resolution source image and export it correctly for the web. Never use a screenshot of a photo.
- The "Too Cool for School" Shot: A photo with sunglasses, a hat, or a novelty filter might be fine for social media, but it has no place in a professional signature. Fix: Keep it simple and professional. Your face should be clearly visible.
- The Inconsistent Vibe: Using a photo of you hiking or at a concert when you're an accountant. Fix: Ensure your photo's tone matches your professional brand and the expectations of your industry.
Editing and Optimizing Your Signature Photo
Once you've taken the photo, a few final touches will elevate it from good to great. This is where you add the final layer of polish and ensure it's technically ready for your signature.
Basic Polishing
Most phone photo apps or free desktop software have all the tools you need for basic edits. Focus on:
- Cropping: Crop your photo to the head-and-shoulders composition we discussed earlier. A square aspect ratio (1:1) is often the most versatile.
- Brightness & Contrast: Make small adjustments to ensure the photo is bright and clear, but not washed out. A slight boost in contrast can make the image 'pop.'
- Color Correction: If the lighting gave your photo a slight yellow or blue tint, use the white balance or temperature tool to make the colors look natural.
Getting the Studio Look
Sometimes, even with the best DIY efforts, your background or lighting isn't quite at a studio-quality level. You might have taken a great shot in terms of expression, but the messy bookshelf is still visible in the background. This is where modern tools can bridge the gap.
For example, an AI photo studio like Portretto allows you to upload a simple selfie or a DIY headshot you've taken and transform it. The AI can replace your distracting home background with a clean, professional studio backdrop (white, gray, or an office setting), adjust the lighting to mimic a high-end studio setup, and even give you options for professional attire. This is an incredibly efficient way to get a polished, professional photo for an email signature without the time and expense of a traditional photoshoot.
Final Technical Optimization
This final step is crucial for ensuring your emails load quickly for your recipients.
- File Format: Save your final image as a JPEG or PNG.
- Image Dimensions: A good size for an email signature photo is between 150x150 pixels and 250x250 pixels. Any larger is unnecessary and will increase file size.
- File Size: Aim for a file size under 50KB. Most image editors have a "Save for Web" or "Export" function that allows you to control the quality and see the resulting file size before you save. A smaller file size prevents your photo from being flagged as a large attachment or slowing down email delivery.
Your email signature is a part of your professional identity that works for you day in and day out. By investing a little time and effort into creating a high-quality photo, you're not just improving your signature; you're enhancing every single conversation you have over email.
FAQ
What is the best size for an email signature photo?
The ideal dimensions for an email signature photo are between 150x150 pixels and 250x250 pixels. More importantly, the file size should be optimized to be under 50KB to ensure it doesn't slow down email loading for your recipients.
Should I smile in my professional headshot?
Yes, a smile is highly recommended as it makes you appear more approachable and trustworthy. Aim for a genuine, confident smile that reaches your eyes. If a full smile feels unnatural, a slight, closed-mouth smile also works very well.
Can I use a selfie for my professional email signature?
A standard arm's-length selfie is generally not recommended due to distortion and poor quality. However, you can use your smartphone's high-quality rear camera with a tripod and timer to take a much better DIY headshot. You can then use a tool to enhance it for a professional look.
How often should I update my email signature photo?
You should update your professional photo every 2-3 years. It's also important to get a new one if you have a significant change in your appearance, such as a new hairstyle, a change in hair color, or if you start wearing glasses.
What is the best background for an email signature photo?
The best background is one that is simple and non-distracting. A solid, neutral color like light gray, white, or off-white is a foolproof choice. A subtly blurred, out-of-focus professional environment can also work, but avoid busy or personal settings like your living room or a vacation spot.