A/B Test Your LinkedIn Photo: A Guide to More Clicks
Your LinkedIn profile picture is your digital handshake, the first impression you make on recruiters, potential clients, and future colleagues. Yet most professionals upload a photo and leave it for years, never knowing if a different shot could be opening more doors. This is where a simple marketing technique, LinkedIn photo A/B testing, can give you a serious competitive edge by helping you find the image that truly represents your personal brand and drives engagement.
Why Your LinkedIn Photo Is Your Most Important Personal Branding Asset
As a portrait photographer, I've seen firsthand how a single image can change perceptions. We are visual creatures, and we make snap judgments in milliseconds. On a professional platform like LinkedIn, your photo isn't just a picture; it's a powerful signal of your competence, approachability, and trustworthiness.
A great headshot can trigger a positive 'halo effect,' a cognitive bias where we allow one positive trait (like a confident and friendly appearance) to influence our overall opinion of a person. This can mean the difference between a recruiter clicking 'Connect' or scrolling past your profile.
Think about it:
- Connection Requests: Are people more likely to accept a request from a blurry, poorly-lit photo or a clear, professional one?
- Profile Views: Your tiny circular photo appears next to every comment you make and every post you share. An engaging photo encourages people to click through to your profile.
- Recruiter Outreach: Recruiters scan hundreds of profiles a day. A photo that stands out for the right reasons makes their job easier and puts you on their radar.
Your photo sets the tone before anyone reads a single word of your carefully crafted headline or summary. Ignoring its impact is like showing up to a major job interview in a wrinkled shirt. You might be the best candidate, but you've already created an unnecessary hurdle.
The Principles of A/B Testing Your Headshot
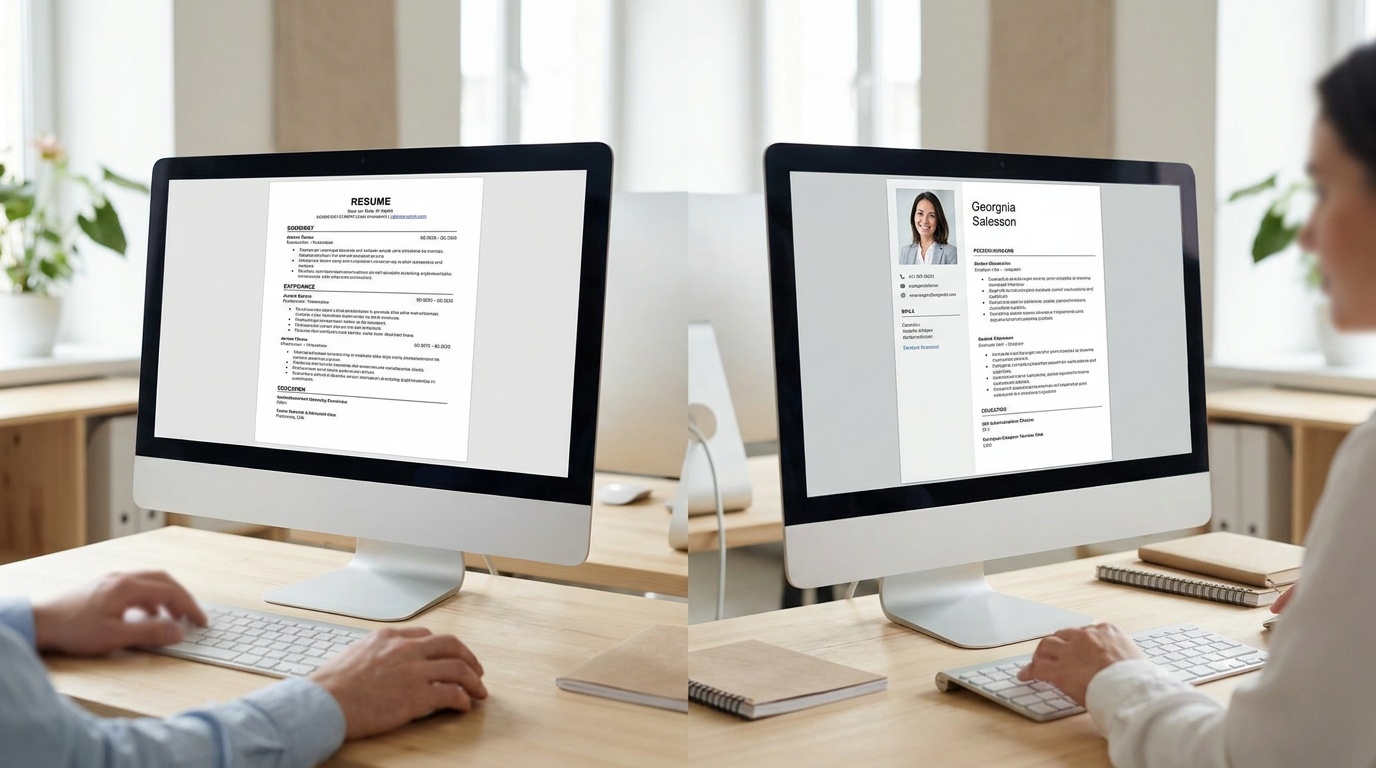
A/B testing, or split testing, is a method of comparing two versions of something to see which one performs better. In our case, we're comparing Photo A against Photo B to determine which one achieves a specific goal, such as increasing profile views or connection acceptance rates.
The key principle is to isolate one variable at a time. If you change your photo, your headline, and your banner all at once, you'll have no idea which change caused the increase (or decrease) in engagement. By only changing the photo, you can be reasonably sure that any significant difference in your metrics is due to that change.
Setting Your Hypothesis
Before you start, form a simple hypothesis. This gives your test direction. For example:
- "I believe a headshot where I'm smiling with my teeth will appear more approachable and result in a 10% higher connection acceptance rate than my current, more serious photo."
- "I believe a photo with a clean, studio background will look more professional and lead to a 15% increase in profile views from recruiters compared to my current photo with a busy office background."
Don't just ask your friends or family which photo they like best. They are biased and likely not your target audience. Data-driven testing provides objective proof of what resonates with the people you actually want to connect with.
A Step-by-Step Guide to LinkedIn Photo A/B Testing
Since LinkedIn doesn't have a built-in A/B testing tool, we need to run a manual test. It requires a bit of patience, but the insights are invaluable. Here’s how to do it correctly.
Step 1: Choose Your Variables and Create Your Photos
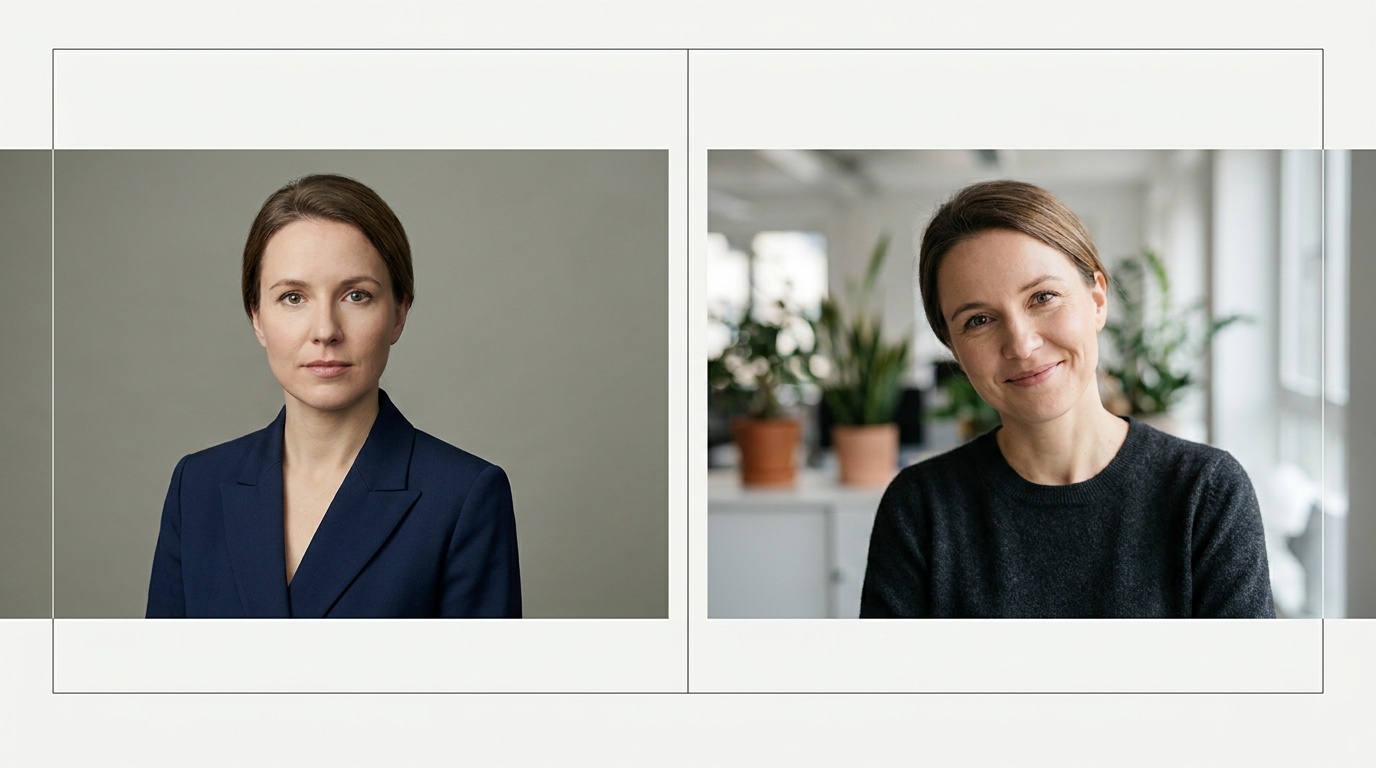
First, decide what you want to test. Start with your current photo as the 'control' (Photo A) and create a 'variation' (Photo B) that changes only one key element.
Here are the most impactful variables to test:
| Variable | Option 1 (Control) | Option 2 (Variation) |
|---|---|---|
| Expression | Closed-mouth smile (professional) | Open-mouth smile (approachable) |
| Attire | Formal suit and tie | Business casual (e.g., blazer, no tie) |
| Background | Neutral studio gray/white | Blurred office or outdoor setting |
| Cropping | Tight head-and-shoulders | Wider waist-up shot |
| Lighting | Bright, even studio light | Softer, natural window light |
| Color | Full color | Black and white |
To create these variations, you don't need to book multiple expensive photoshoots. This is where AI tools can be incredibly powerful. For instance, with Portretto, you can upload a few clear selfies and generate a wide array of studio-quality portraits. You can get options with different outfits (a suit vs. a sweater), various backgrounds (studio gray vs. an office), and even subtle expression changes, all while preserving your unique facial features. This gives you a perfect, high-quality library of images to use for your tests.
Step 2: Establish Your Baseline and Run the Test
To measure change, you first need to know where you're starting from. This is your baseline.
- Choose Your Metric: The easiest metric to track for most people is Profile Views. You can find this on your LinkedIn dashboard ("Who's viewed your profile").
- Establish the Baseline: With your current photo (Photo A), record your total number of profile views over a 1-week period. To get a more accurate number, divide the total views by the number of days (7) to get a daily average. Try to maintain your normal level of LinkedIn activity during this time.
- Run Test B: At the start of the next week, change your profile picture to your variation (Photo B). Do not change anything else on your profile. Continue your normal LinkedIn activity for another full week.
- Record the Results: At the end of the week, record the total profile views for the period when Photo B was active. Calculate the new daily average.
For a more advanced test, you can track your Connection Request Acceptance Rate. This is more difficult but provides excellent data. To do this, send 50 connection requests with a standardized message while using Photo A. Track how many are accepted over two weeks. Then, wait a week, change to Photo B, and send another 50 requests to a similar group of professionals and track that acceptance rate.
Step 3: Analyze the Data
Now it's time to compare your results. Let's say with Photo A, you averaged 20 profile views per day. With Photo B, you averaged 25 profile views per day.
The calculation is: ((New Average - Old Average) / Old Average) * 100
((25 - 20) / 20) * 100 = 25%
In this scenario, Photo B led to a 25% increase in profile views. This is a significant result! Your hypothesis that the change in Photo B would perform better is validated. You now have a data-backed reason to use Photo B as your new default picture.
Upload a photo, pick a look and get your portrait in a minute. Your face stays yours.
Try itCommon Mistakes When Testing Your LinkedIn Photo (And How to Avoid Them)
Running a manual test can be tricky. Here are the most common pitfalls I see people fall into.
- Mistake 1: Testing Too Many Things at Once. If you change your photo and update your headline on the same day, you can't isolate the cause of any change in traffic. How to avoid: Change only one variable at a time. Be patient. Test the photo first, then the headline, then the banner.
- Mistake 2: Not Running the Test Long Enough. A one-day test is not statistically significant. A random event, like a single influential person sharing your profile, could skew the results. How to avoid: Run each variation for at least one full week, preferably two. This helps smooth out daily fluctuations.
- Mistake 3: Inconsistent Activity Levels. If you publish a viral post during your test of Photo B, it will naturally get more profile views, but it has nothing to do with the photo itself. How to avoid: Try to maintain a consistent level of activity (posting, commenting, connecting) during both test periods. Don't launch major campaigns or go completely silent.
- Mistake 4: Using Low-Quality Photos. Testing a blurry selfie against a slightly less blurry selfie is a waste of time. The foundation must be solid. How to avoid: Ensure both Photo A and Photo B are high-resolution, well-lit, and professional. The goal is to test strategic choices, not technical quality. Using a service like Portretto ensures all your test options meet a professional standard from the start.
The Anatomy of a Winning LinkedIn Headshot
Whether you're testing or just choosing one great photo, certain elements are universally effective. After analyzing thousands of professional portraits, I've found the best ones consistently follow these rules. Use this as a final checklist for your chosen photo.
Headshot Final Checklist
- The Eyes Have It: Your eyes should be in sharp focus. This is the most important part of the photo for creating a connection.
- Light It Up: Use soft, flattering light. The best source is often a large window on an overcast day. Avoid harsh overhead lighting that creates unflattering shadows under your eyes and nose.
- Frame It Right: Your face should take up at least 60% of the frame. LinkedIn crops your photo into a small circle, so a distant, full-body shot will render your face unrecognizable.
- Keep the Background Simple: The background should be clean and uncluttered. A solid neutral wall, a blurred-out office, or a simple outdoor scene works best. Avoid distracting elements like vacation photos, messy rooms, or other people.
- Authentic Expression: Your expression should be confident and approachable. For most industries, a warm, genuine smile is the gold standard. It doesn't have to be a huge, toothy grin—a slight, confident smile can be just as effective.
- Dress the Part: Wear what you would wear to meet an important new client or for a key interview in your industry. This signals professionalism and shows you understand the norms of your field.
- Keep It Current: Your photo should look like you do now, not ten years and a different hairstyle ago. An outdated photo can be jarring when you meet someone in person or on a video call, creating a moment of distrust.
By combining these fundamental principles with a methodical approach to LinkedIn photo A/B testing, you can move beyond guesswork and choose a profile picture that actively works for you, building your brand and creating new opportunities.
FAQ
How often should I change my LinkedIn photo?
You should update your LinkedIn photo every 2-3 years, or whenever your appearance changes significantly (e.g., new hairstyle, glasses). This ensures your photo remains a current and accurate representation of you, which builds trust with connections.
Is a selfie OK for a LinkedIn photo?
Generally, a standard arm's-length selfie is not recommended due to lens distortion and poor lighting. However, you can take a high-quality photo of yourself using a tripod and your phone's main camera, or use a well-lit, clear selfie as a base for an AI photo generator to create a professional studio-quality portrait.
Should I smile in my LinkedIn photo?
For most professions, yes. Studies and user data show that photos with a smile are perceived as more likable, competent, and influential. A genuine, warm smile (with or without teeth) makes you appear more approachable and confident.
What is the best background for a LinkedIn photo?
The best background is one that is not distracting. Simple, neutral-colored walls (white, gray, or blue) are a safe and professional choice. A slightly blurred office environment can also work well to add context without creating clutter. Avoid busy patterns, messy rooms, or vacation backgrounds.
Are black and white photos good for LinkedIn?
A black and white photo can be a stylish and powerful choice, especially in creative fields like photography, design, or architecture. It can help you stand out. However, for more conservative industries like finance or law, a color photo is often a safer and more standard choice. It's a great variable to A/B test.