How to Get an Approachable Professional Headshot
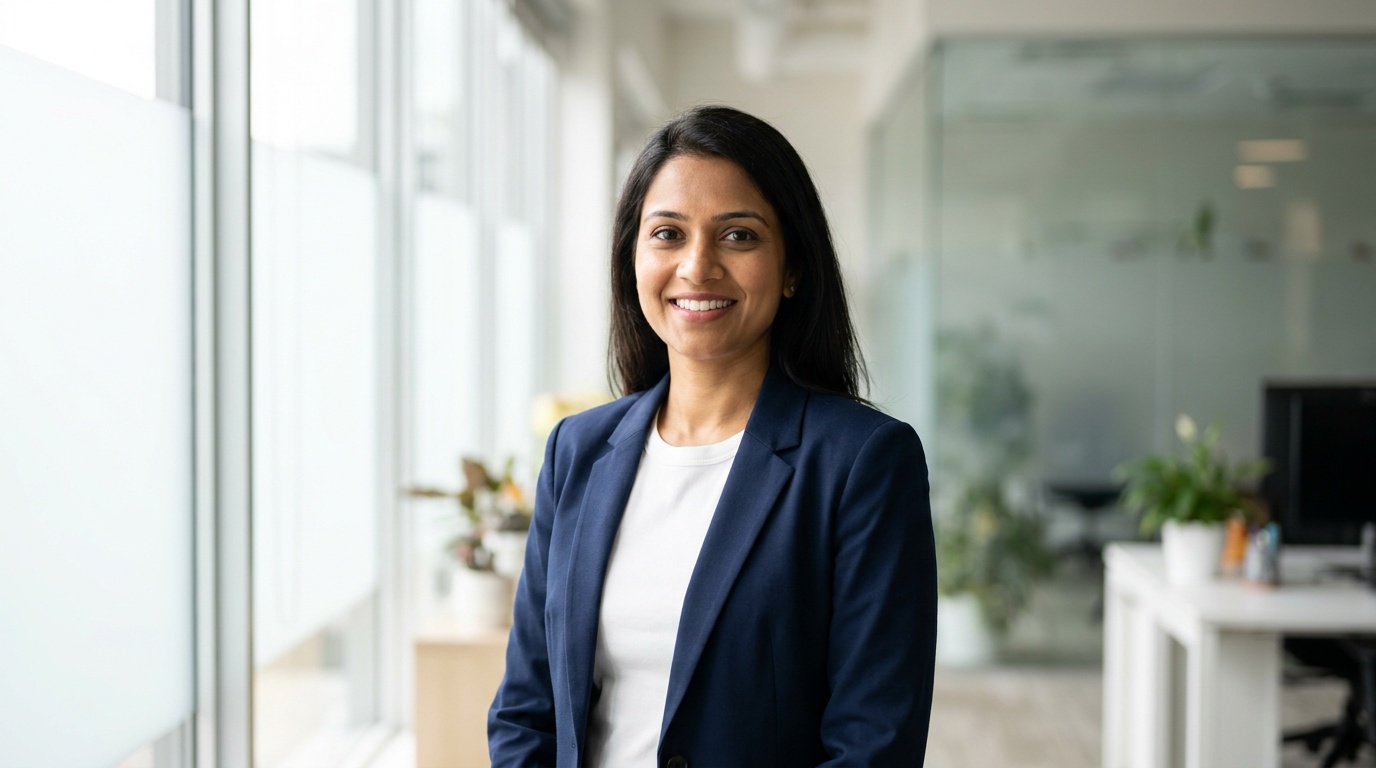
The old rules for headshots are dead. Gone are the days of stiff, intimidating portraits against a mottled grey background that make you look more like a stern CEO from the 90s than a modern professional. Today, the goal is an approachable professional headshot—one that communicates competence and expertise, but also warmth and personality. It’s the kind of photo that makes a potential client, recruiter, or collaborator feel like they’d genuinely enjoy working with you.
As a portrait photographer, I've spent years helping people find that perfect balance. Now, with the power of AI, achieving the 'approachable expert' look is more accessible than ever. This guide will walk you through exactly how to do it, from taking the perfect source photo with your phone to selecting the final image that will open doors for you.
What Makes a Headshot 'Approachable' vs. 'Stuffy'?
Before we dive into the 'how,' let's define the 'what.' The magic of an approachable yet professional headshot lies in balancing two key elements: warmth and authority.
The 'Stuffy' Traditional Headshot:
- Expression: A forced, tight-lipped smile or an overly serious, intimidating stare.
- Lighting: Often harsh, direct flash that creates sharp, unflattering shadows under the eyes and nose.
- Posing: Stiff and rigid. Shoulders squared to the camera, chin held too high, looking unnatural.
- Background: Dated, obviously fake backdrops like a bookshelf full of leather-bound books or a mottled grey canvas.
The 'Approachable Expert' Headshot:
- Expression: A genuine smile that reaches the eyes (what photographers call a Duchenne smile) and a confident gaze.
- Lighting: Soft, flattering light that wraps around the face, minimizing harsh shadows and creating a pleasant, bright feel.
- Posing: Relaxed and natural. Body angled slightly, head tilted, posture confident but not rigid.
- Background: Clean, modern, and context-appropriate. A softly blurred office, a clean studio background, or even a pleasant outdoor setting can work.
Essentially, you're moving from a photo that says "I am an important person" to one that says "I am a skilled person you can trust and connect with."
The Foundation: Nailing Your Source Photo for AI
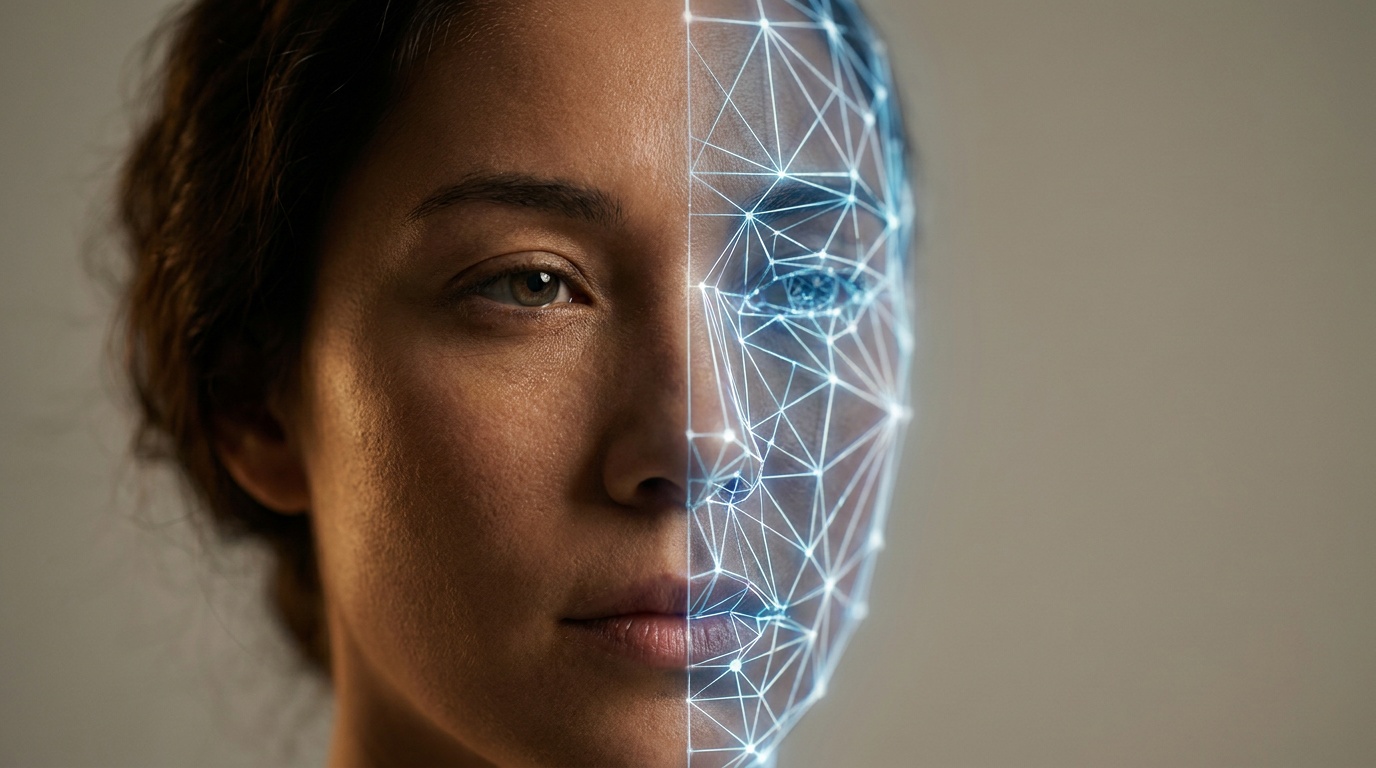
AI headshot generators are powerful, but they are not magic. The quality of your final portrait is directly tied to the quality of the selfie you upload. The AI builds the new image around your real face, so your expression, the angle, and the lighting of your source photo are the most critical elements you control.
Lighting Your Selfie Like a Pro
Good lighting is the single most important technical element of any portrait. It separates a snapshot from a professional photo. You don't need studio strobes; you just need a window.
- The Best Light Source: Stand facing a large window on an overcast day. This is nature's softbox—it provides bright, soft, and even light that will make your skin look great and minimize harsh shadows.
- Positioning: Get close to the window and face it directly. The light should fall evenly on your face. You'll know you've got it right when you see little white reflections, or 'catchlights,' in your eyes.
- Pro Tip: Grab a piece of white printer paper or a white t-shirt and hold it just out of frame below your chin. This will act as a mini-reflector, bouncing light back up into your face and softening any shadows under your chin and eyes.
- What to Avoid: Absolutely no overhead lighting (it creates 'raccoon eyes'), no direct, harsh sunlight (it makes you squint and creates hard, unflattering shadows), and don't stand with the window behind you (this will turn you into a silhouette).
Expression and Pose: The Human Element
Your expression is your brand. It's what conveys your personality. The AI will replicate the expression from your source photo, so you need to get this right.
- Relax Your Face: Before you even start, take a deep breath. Shake out your shoulders. People hold a surprising amount of tension in their jaw and forehead. Consciously relax them.
- Master the 'Squinch': This is a term coined by portrait photographer Peter Hurley. Instead of opening your eyes wide (which can look fearful), you slightly squint your lower eyelids. It’s not a full squint, just a slight tightening. This simple action instantly makes you look more confident and focused.
- Find Your Genuine Smile: The fake "cheese!" smile is your enemy. It's just a baring of teeth. To get a real smile, you need to feel it. Think of a person you love, a funny memory, or a recent success. Let that genuine feeling create the smile. A real smile engages the muscles around your eyes, creating those friendly 'crow's feet.' A closed-mouth smile can be just as effective if it's relaxed and confident.
- Perfect Your Pose:
- Turn your body about 45 degrees away from the camera, then turn your head back to face the lens. This is more dynamic and slimming than a straight-on 'mugshot' pose.
- Push your forehead slightly towards the camera and lower your chin just a touch. It feels weird, but on camera, this technique defines the jawline and eliminates the dreaded double chin.
What to Wear (From the Waist Up)
Your clothing in the source photo doesn't matter as much since the AI will replace it, but the neckline does. The AI uses the area around your neck as a guide.
- Wear a simple crew neck or V-neck t-shirt.
- Avoid turtlenecks, hoodies, or shirts with very busy collars, as they can sometimes confuse the AI when it generates a new outfit like a blazer or dress shirt.
- Stick to a solid color. It gives the AI a clean canvas to work with.
Creating Your Approachable Professional Headshot with AI
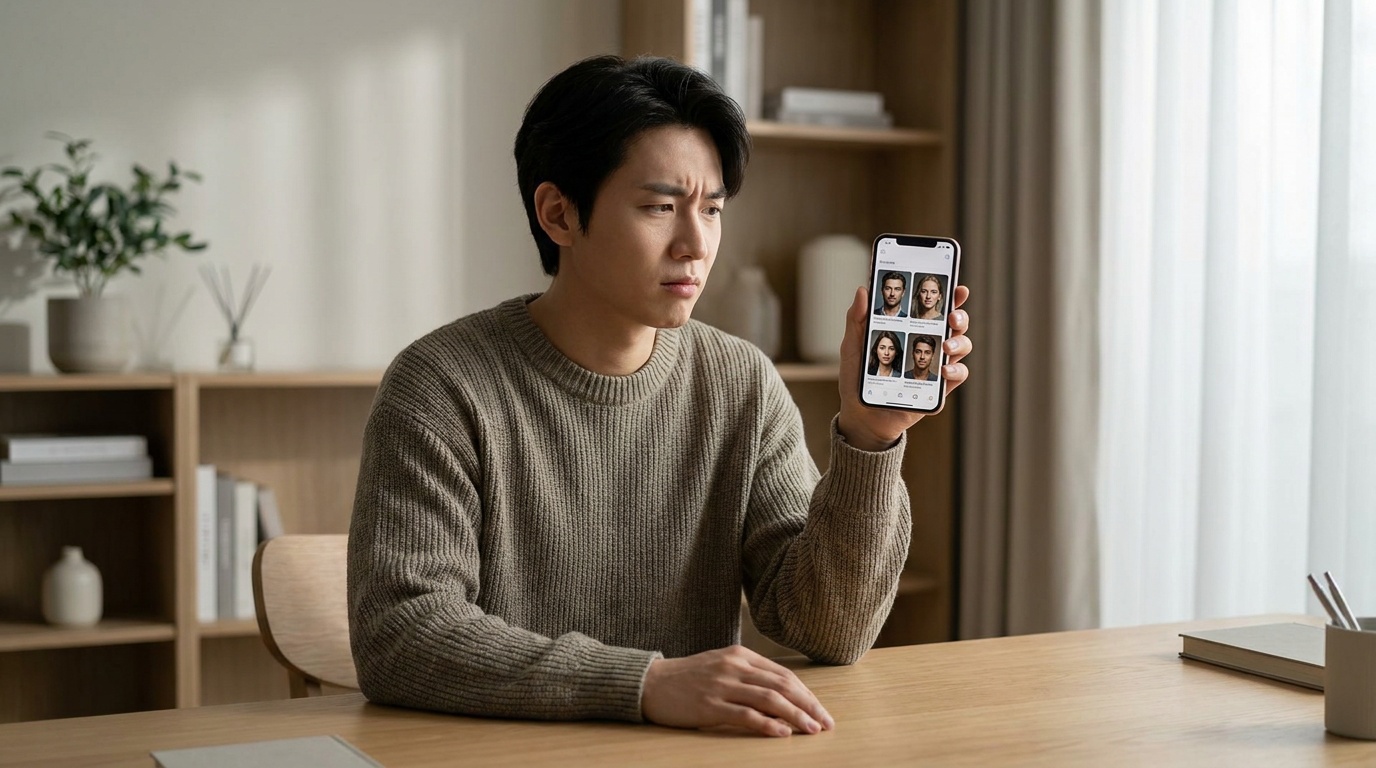
Once you have a dozen or so well-lit selfies with a great expression, you're ready for the fun part. Using an AI photo studio like Portretto allows you to bypass the time and expense of a traditional photoshoot while still getting a huge variety of high-quality, professional options.
Choosing the Right AI Style
The 'style' you choose dictates the lighting, background, and clothing of your final headshot. To achieve the approachable expert look, consider these categories:
- Modern Business/Corporate: Look for styles described with words like 'bright office,' 'soft light,' or 'studio white.' These create a clean, professional look that isn't stuffy. Avoid styles with dark, wood-paneled walls or harsh lighting.
- Golden Hour/Outdoor: These styles are fantastic for creating a warm, friendly, and trustworthy vibe. The warm, low-angle light is universally flattering. This is a great choice for consultants, creatives, therapists, and coaches.
- Classic Black & White: Don't underestimate the power of monochrome. A black and white portrait strips away all color distractions, focusing the viewer's attention entirely on your expression. If you have a source photo with a great, warm smile, a B&W style can look incredibly chic, timeless, and approachable.
Uploading Your Photos: A Final Checklist
Before you hit 'generate,' do a final check on the photos you've selected to upload.
- [ ] High-resolution and in focus? The AI needs clear data to work with.
- [ ] Is your face clearly visible? No sunglasses, hats, or hands obscuring your features.
- [ ] Are you looking at the camera? Direct eye contact builds trust.
- [ ] Is the expression the one you want? Remember, the AI keeps your expression.
- [ ] Did you upload a variety of shots? Uploading 10-15 different selfies with slight variations in your smile and head tilt will give the AI more data to produce a wider range of high-quality results.
Upload a photo, pick a look and get your portrait in a minute. Your face stays yours.
Try itHow to Pick the Winning Shot
After a short wait, you'll have dozens of headshots. The sheer volume can be overwhelming. Here’s a systematic way to choose the best one.
The A/B Test Method
Don't try to look at all 50+ images at once. You'll get decision fatigue. Instead, use a simple process of elimination.
- First Pass: Quickly scroll through and do a gut check. Archive any images that are obvious 'no's'—weird artifacts, an expression you don't like, etc.
- Compare Two at a Time: Now, look at the first two photos side-by-side. Ask yourself, "Which one looks more like a competent and friendly expert?" Pick the winner and discard the loser.
- Repeat: Take the winner from the first pair and compare it to the next photo in your gallery. Repeat this process until you have only one image left.
- Get a Second Opinion: Once you have your top 2-3 choices, ask a few trusted colleagues or mentors for their feedback. Don't just ask "Which one do you like?" Ask a more specific question, like "Which of these makes me look most trustworthy and professional?"
Details to Scrutinize
- The Eyes: Are they sharp? Do they have a clear catchlight? The eyes are the focal point of a portrait; they must be perfect.
- Authenticity: Does it still look like you? A good AI portrait should look like a better version of you on your best day, not like a different person.
- Lighting and Shadows: Look for natural-looking light. Are there any strange, dark shadows on one side of the face? Is your forehead unnaturally bright?
- AI Artifacts: Zoom in. Check the details. Look for strange textures in the clothing, oddly shaped ears, or distorted elements in the background. Modern AI is very good, but it's always worth a final, detailed check.
Common Mistakes to Avoid
I've seen thousands of headshots, both professional and amateur. Here are the most common mistakes people make when trying to achieve a warm, professional look.
- Mistake 1: The 'Hostage' Smile. A wide-eyed, teeth-baring grin that doesn't involve the eyes. It looks forced and can read as inauthentic.
- The Fix: Practice your genuine smile in the mirror. Think happy thoughts. Use the 'squinch' technique to add confidence to your eyes.
- Mistake 2: Using a Poor-Quality Source Photo. Uploading a blurry, poorly-lit photo taken at night in your living room will result in a blurry, poorly-lit AI headshot.
- The Fix: Take your source photos seriously. Spend 10 minutes by a window during the day. It will make a world of difference.
- Mistake 3: Mismatching the Style and Your Profession. A dreamy, golden-hour outdoor portrait might not be the best fit for a corporate lawyer. A super-formal studio shot might feel too stiff for a yoga instructor.
- The Fix: Think about your industry's norms and your personal brand. When in doubt, a clean, brightly-lit studio or modern office background is a universally safe and professional choice.
- Mistake 4: Forgetting About the Details. Choosing a photo where the AI has generated a slightly wonky collar or an earring that doesn't quite match.
- The Fix: Zoom in! Before you post that new headshot on LinkedIn, scrutinize the details. Pick the image that is flawless from a technical perspective.
Your headshot is your digital handshake. By combining a thoughtfully taken selfie with the power of AI, you can create an approachable professional headshot that truly represents your expertise and personality, helping you make the best possible first impression, every time.
FAQ
How can I look more approachable in a professional headshot?
To look more approachable, focus on a genuine expression. Think of something that makes you truly happy to create a natural smile that reaches your eyes. Also, adopt a relaxed posture—angle your body slightly instead of facing the camera head-on, and relax your shoulders.
What is the best background for a friendly but professional headshot?
The best background is one that is clean and not distracting. A softly blurred, bright office environment conveys professionalism without being stuffy. A simple white or light grey studio background is also a timeless choice. For some professions, a non-distracting outdoor setting can add warmth.
Should you smile with teeth in a professional headshot?
Either a smile with teeth or a closed-mouth smile can work, as long as it's genuine. A warm smile showing teeth is often seen as more open and approachable. A confident, closed-mouth smile can convey authority and composure. Choose the expression that feels most authentic to you and your personal brand.
Can I really use a selfie for a professional headshot?
Yes, you absolutely can, provided you use the right tools. While a standard selfie isn't a substitute for a headshot, AI photo services like Portretto are designed to transform a high-quality, well-lit selfie into a studio-grade portrait by generating a professional background, outfit, and lighting.
What colors are best to wear for an approachable headshot?
Solid colors are almost always better than busy patterns. Jewel tones like emerald green, sapphire blue, and ruby red are flattering on many skin tones. Earth tones can also convey warmth and approachability. Avoid wearing colors that are too close to your skin tone, which can wash you out.